 We have gaming slots of 4 hours. This is imposed by local parking restrictions. As my regulars will be aware we often change sides and play the same game twice.
Note it's size and composition rather than points. If you have Medieval based armies of foot knights, you could triple the points used here.
Now we don't rush. This is a cut-down version of an earlier game. I wasn't going to have an objective, but I rolled my usual 6x6 longitude, latitude method and the ruin got on top of the hill.
Oni
& Bakemono 2,390 7 monsters, 3 infantry, 2 cavalry.
Given most monsters are between £2-5, infantry 50p and cavalry £1.50, about £60. But- you could also use for OGAM if you add a god. Say another £5.
Given most monsters are between £2-5, infantry 50p and cavalry £1.50, about £60. But- you could also use for OGAM if you add a god. Say another £5.
All
Gods Are Bastards. 3 5 7 Giant
L2, Resilient, General 4 extra lives 207
The
Son
Q4,A4,D7. Monster level 1, Resilient, 3 extra lives. 106
Resilient.
a die for each hit suffered by the unit. On a 5+, that hit is
ignored.
Oni
Q4,A4,D5 Giant L2, Resilient, extra lives 2 83
Archers
Q4 A0 D5 Shoot 1 29 x18 =522
Polearm
Q4,A1
D4. Devastating charge. 27 x16 =432
Cavalry
polearm Q4,A1,D6.
Mounted, fast. 48 x6 =288
Cavalry
archers Q4,A1,D5.
Mounted, fast, shooters 1. 46 x8= 276
Bakeneko Q3 A5 D6 Fast, Sub general, Beast lord, Necromancer, extra 2
lives116
At
the end of any battle in his area, if victorious, the Necromancer may
cause a single non-Undead, non-Artificial stand to come back to life
as an Undead stand. Pass Q roll on 1D. Q4+,
A1, D5, Undead
Jorogumo,
Spider Woman 4 4 5 Monster L2
Poison Ambusher 76
Ambush.
One action set up an ambush, +1 to A and D
Giant
Spider Q4 A3 D4 Monster L1,
Poison 44
Poison.
Reroll HALF his melee dice that failed to hit, rounded down. The
minimum reroll is always one die.
Godzillasaurus
4 3 7 Monster
L2, Dragon breath L2, Tough, 2extra lives, Poison. 148
Dragon
Breath one die per level
ranged attack, 4+ set fire to forest areas.
Samurai
Total 2,393. 1 monster, 1 magic user, 1 cavalry 5 infantry. This one's a lot cheaper at about £40. again, add a god for £5. This game would cost you about £100.
Dragon
Q3 A4 D8, extra 4 lives, Fly, Monster L3 242
General
Q3 A2 D6 General, Fast, Shoot
3, extra 2 lives 92££
Samurai
cavalry Q3 A2 D6, Mounted, Fast, Shoot 3 @ 79 x 4 = 316
Samurai
foot Q4 A3 D6 @ 38 x 8 = 304
Samurai
archers Q4 A1 D6 Shoot 3 8 x 47 = 376
Follower
archers Q4 A1 D4 Shoot 2 8 x 34 = 272
Follower
Q4 A3 D4 5x 34 = 170
Abbot
Shugenja Sub General Q3 A2 D6 extra 2 lives, slow 61
Alter
Terrain 1,2 or 3 Actions on one unoccupied area anywhere.
Target becomes rough or, if rough clear. terrain. One turn per action
spent in casting the spell. Not create impassable terrain or water,
may create a bridge or ford, a section of road or a path through
forest or wooded. Turn a
hill
into another hill type.
Rain
of Arrows (2 or 3 Actions) missile attack of 1 die per action
used. Hit at +1, and all results of one are rerolled.
Monks
Q4
A3 D5 Devastating charge 16 x 35 = 56
Game 1. Tony took the Samurai. Usual back & forth with actions and reactions.


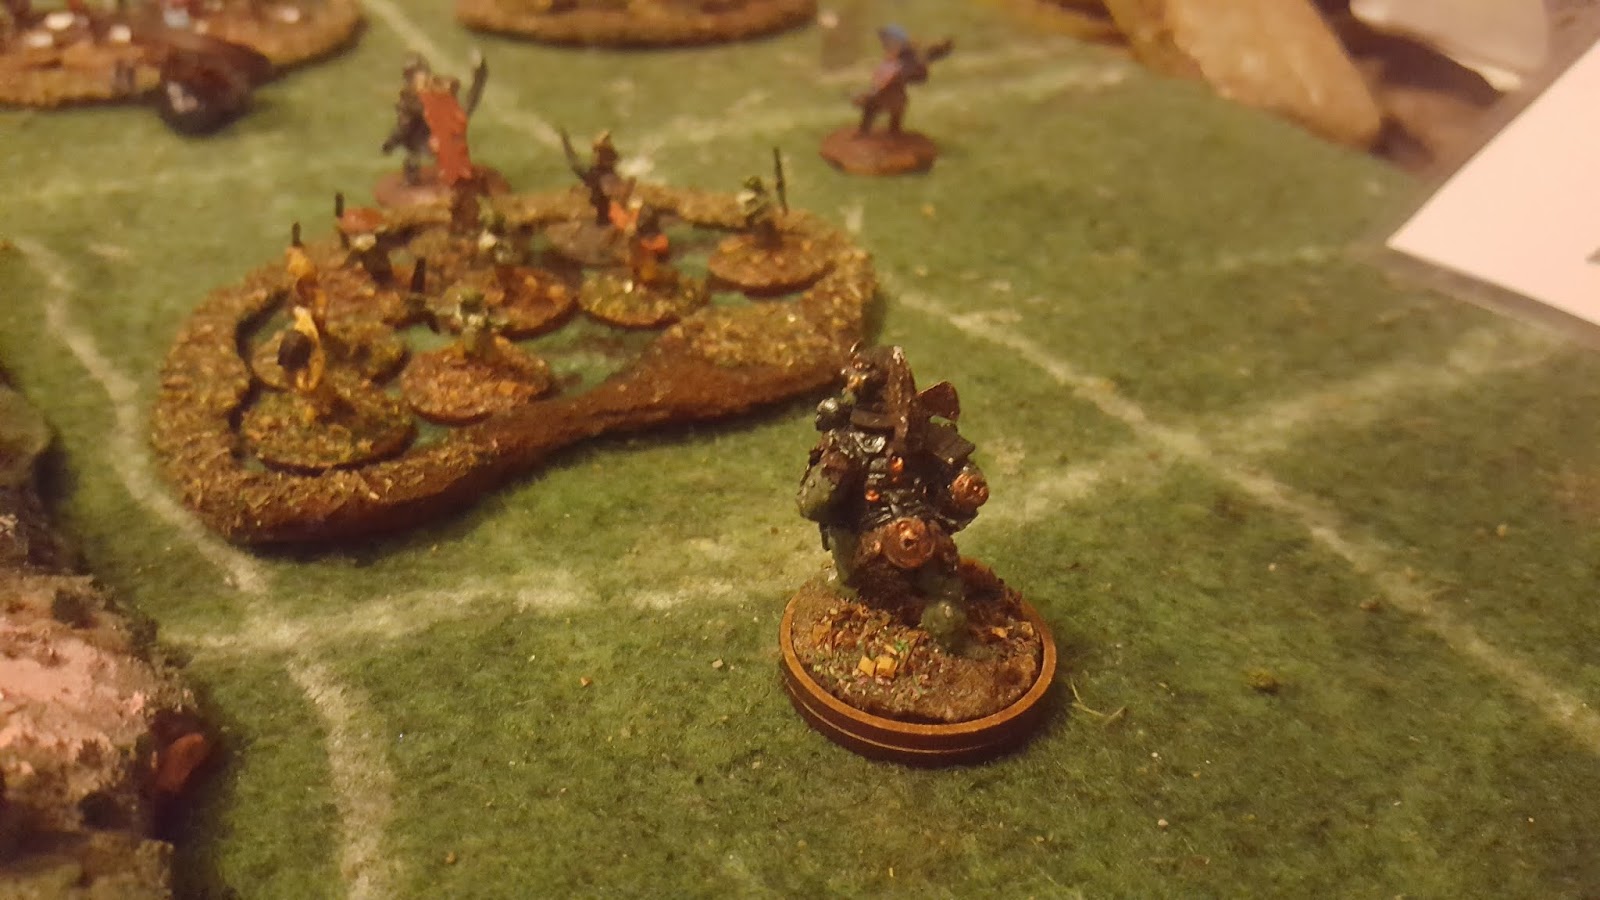
There are 2 types of Samurai general. Tony decided his was the mad lead-from-the-front type.

But the Bakeneko will not be denied, charges in on reaction and downs him! He's properly dead!


Cavalry move up in close support, but too late! The Samurai swoop and kill! A roll on the generals table shows that he escapes, wounded and unable to lead from the front. Take that as a push back and needs to retire.


The cavalry are pummelled by the followers.


6 cavalry roll 12 dice in combat. 1's always fail & 6 always kill. They kill 4. If this had been a rabble 8 would have died.

Cavalry sweep around the hill!

They crash into the Samurai, they win, just!


Dragon stirs.
Before the cavalry can regroup they are caught by the foot Samurai and wiped out.


The monks emerge from the cover.

The other flank looks messy-.

Not that this flank is much better. Archers face off the monks and a bloody great dragon-.


Straight for the Oni.


The Abbot gains the high ground.


Going to kill the Bakeneko, there's Godzillasaurus in the way-.

This is why you need different coloured dice! But the rules handle it well, the attackers needs to put up the how many on who.

The Bakeneko goes, as does the disordered cavalry. With their sub general (which is what a beastmaster is to such) gone properly, Godzillasaurus retreats and the spider leaves.


The monks charge forward.


The dragon hits the polearms, pushing them back.


The Son goes down.


I need to form a line.

He's got it in for those chaps!


2 units clash. Both have suffered casualties.


So there are 6's on these dice!

I lose 8 to his 3.

Desperate, the follower archers shoot then fight. They need 6's. They do-.


Wounded, they capture him.

Mine melt with the loss.

Game 2, swap ends.

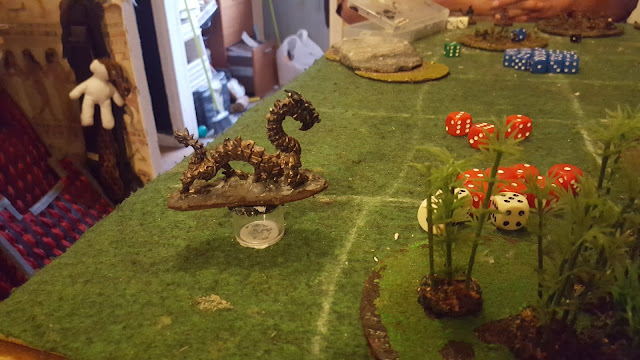
It's coming through the bamboo!

Cavalry advances.


Cavalry kills, rolls capture the Bakeneko, then retire with it.


Godzillasaurus retreats!


Tony's right is fairly static.

But the other flank is all dash. I'm feeling the loss of mine.

First wave takes down my follower archers. But backed by the general, they give good account and it's the cavalry that goes back.

The archers start whittling down the monks.


Again Tony's left is slow to advance.

Go Godzillasaurus! Do something!

I'm supposed to form a line on me own!

Can the Abbott do something this time as well?

The dragon pounces on my archers.

They are forced back.


Seizing the opportunity, the polearms dash into the dragon and with the lives lost to the archers - it's dead!


There are 2 types of Samurai general. Tony decided his was the mad lead-from-the-front type.

But the Bakeneko will not be denied, charges in on reaction and downs him! He's properly dead!


Cavalry move up in close support, but too late! The Samurai swoop and kill! A roll on the generals table shows that he escapes, wounded and unable to lead from the front. Take that as a push back and needs to retire.


The cavalry are pummelled by the followers.


6 cavalry roll 12 dice in combat. 1's always fail & 6 always kill. They kill 4. If this had been a rabble 8 would have died.

Cavalry sweep around the hill!

They crash into the Samurai, they win, just!


Dragon stirs.


The monks emerge from the cover.

The other flank looks messy-.

Not that this flank is much better. Archers face off the monks and a bloody great dragon-.


Straight for the Oni.


Going to kill the Bakeneko, there's Godzillasaurus in the way-.

This is why you need different coloured dice! But the rules handle it well, the attackers needs to put up the how many on who.

The Bakeneko goes, as does the disordered cavalry. With their sub general (which is what a beastmaster is to such) gone properly, Godzillasaurus retreats and the spider leaves.

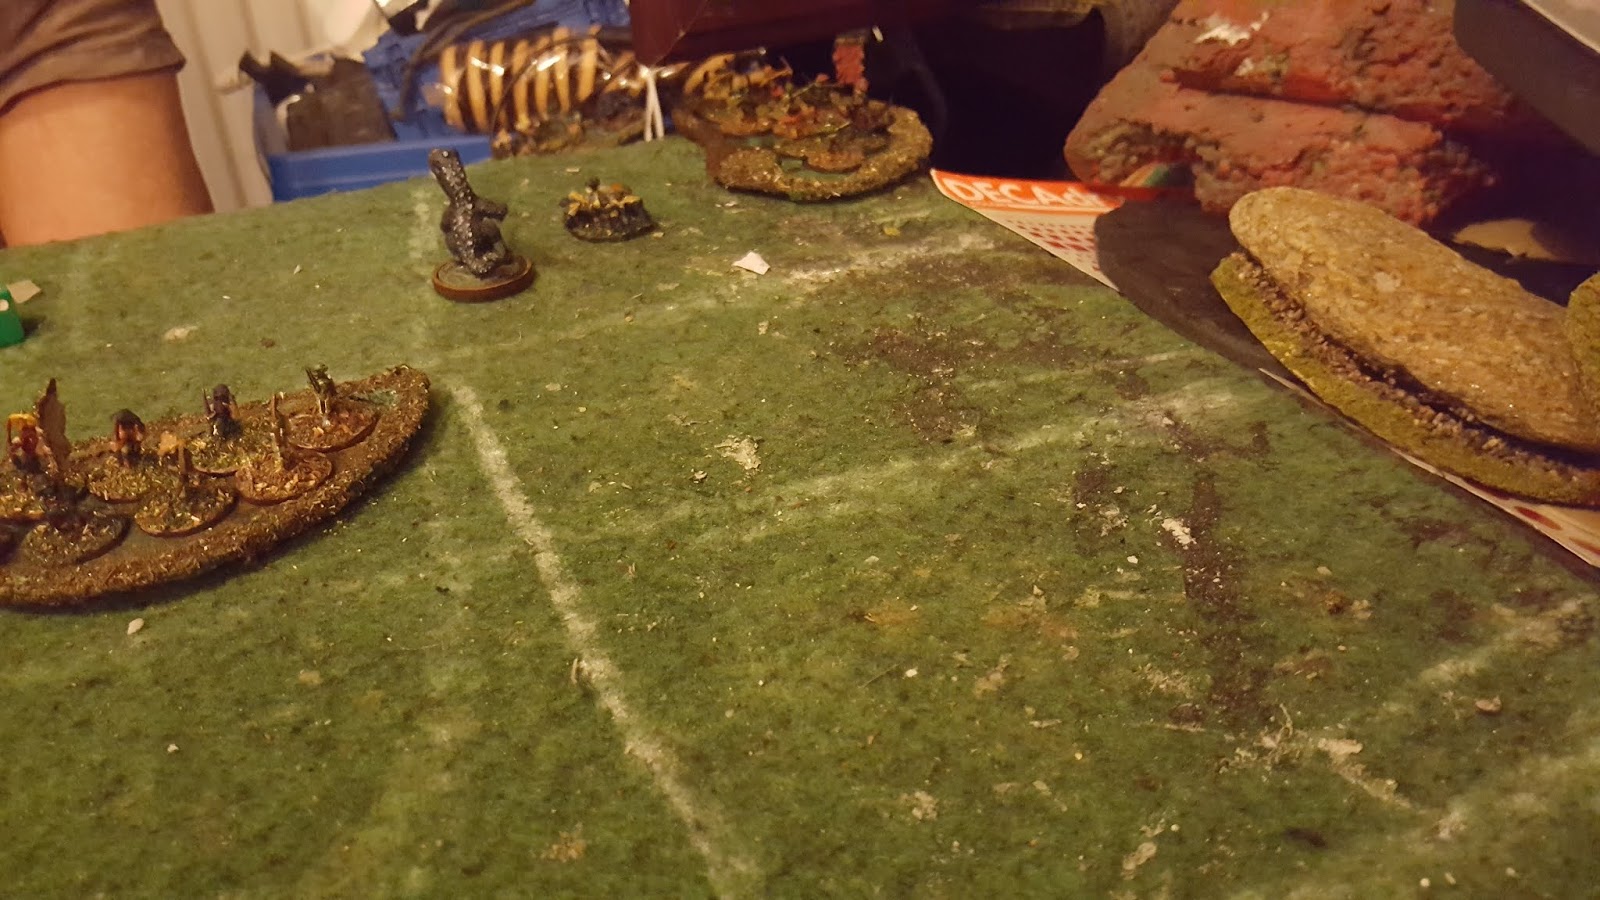
The monks charge forward.


The Son goes down.


I need to form a line.

He's got it in for those chaps!


2 units clash. Both have suffered casualties.


So there are 6's on these dice!

I lose 8 to his 3.

Desperate, the follower archers shoot then fight. They need 6's. They do-.


Wounded, they capture him.

Mine melt with the loss.

Game 2, swap ends.

It's coming through the bamboo!

Cavalry advances.


Cavalry kills, rolls capture the Bakeneko, then retire with it.


Godzillasaurus retreats!


Tony's right is fairly static.

But the other flank is all dash. I'm feeling the loss of mine.

First wave takes down my follower archers. But backed by the general, they give good account and it's the cavalry that goes back.

The archers start whittling down the monks.


Again Tony's left is slow to advance.

Go Godzillasaurus! Do something!

I'm supposed to form a line on me own!

Can the Abbott do something this time as well?

The dragon pounces on my archers.

They are forced back.


The monks move in, hitting them in the flank wiping them out but taking casualties.


Followers gone.

The remaining polearm cavalry kill him, capturing him.


The abbot was quite effective last time, but useless in these 2 games.


All the action has been with the cavalry, now the rest move.

Followers push back the Son back.


The other Oni is shot then hacked to bits.


Remnant archer unit puts up a good fight, but are outclassed.


Those losses tell when they meet the big one.


Followers make a charge against the son.


Regular troops beat monsters and giants.
Non skirmishing, lightly armed missile troops can be effective in large number units.
What an epic clash between those two armies! Nice to see that grid for OAAH. Still not sure if I like that kind of movement procedure.
ReplyDelete