Now we move on to the
next scenario. Ambushes are always meat grinders. I had to put, oh
my platonic platoon of purveyors, some thought into interpreting the
table. Problem is I have 2 ways to go, rectangular 27” (tiles are
9/18”) wide or my 36” square tabletop. I decided to go with a
dense table with bugger all maneuver room for the vehicles, which are
presumed to be hull & power down at the start of the game. Tony
used lots of markers, every other letter was a proper unit.
Here we go. All the
vehicle & infantry bumph can be found on earlier posts. Note on
trees and plants, models are representative of type & density
rather than exact representation as in some other games.


 The Scenario.
For a change the
PAU/British are on the attack in this mission. A road runs along the
middle of table, in the centre there is a bridge crossing a small
river. The river has steep banks and can only crossed by vehicles
using the bridge. Infantry on foot can attempt to cross the river,
by wading. To do this move to bank roll 1 D6 on 5 or 6 not fordable
at that point. Need to full at least half a move along bank to
attempt the crossing. There should be a least 3 building in area of
the bridge. Place rest of terrain as required on rest of table.
PAU/British
Briefing
Situation
Contact has been made
with enemy at various points. Orders have come from higher to move to
alternate position. The battalion has now formed a battlegroup, with
the attachment of 1 squadron of armour. Radio Silence has now been
lifted. The Battlegroup will be moving out shortly. Your platoon has
been tasked with carrying a recce of the route to the new position
Your Troops for this
mission
Your Troops.
1 Mechanised Platoon HQ
in FV432 - (5 men - Senior Officer, 2IC, 1 light mortar, 1 medic, 1
Comms swapped for command car)
3 X Mechanised
Infantry Sections - 3x FV432 (8 men) SLR, GPMG, Carl Gustav)
1 Armour Troop - x3
Chieftains (swapped for armoured cars)
Battlegroup mortars are
not available.
Mission Clear
the route for the Battlegroup
Deployment
Player choses chose
which edge he come in on. Must start of on a Road or track. Must stay
in vehicles until enemy is sited or come under fire which ever
happens first.
NB If you have not
purchased the Mechanised Start pack, assume that Bn Reece has warned
of enemy in the area and your troops have debussed from 432. Still
enter by road or track.
Southpaw/Soviet
Briefing
Comrade.
So far the landings have been successful. It is now time to spring an
ambush. Move your platoon to the area of the bridge. Prevent the
enemy from escaping that way. You have D30 bty on call.
Your
Troops
1 Mechanised Platoon HQ
in FV432 - (5 men - Senior Officer, 2IC, 1 medic, 1 comms, 1 sniper)
3 X Mechanised
Infantry Sections - 3x BMD-1 (6 men) AK, RPK, RPG)
1 Armour Troop - x3
ASU-85
As last week but
without the vehicle riders.
Mission
Hold the
bridge at all costs.
Deployment.
At least 2
sections of Infantry are to be in position near the bridge, the
remainder can be off table waiting call. The can enter at any table
edge on your side of the river. All must come on at same point but
not at same time. If you do not need the reserve, then it is better
no to call them on.
Victory
Conditions
Holding
the bridge 5 Victory points
Not
calling for reserve is an additional 3 victory points if
Southpaw/Soviet player is holding bridge at end of game.
The
Game
As Tony
was ensconced, I started. Chose to do a fairly quick advance hoping
to get over the ford with vehicles supported by infantry wading
across either flank and keeping one infantry section back as a mobile
reserve.
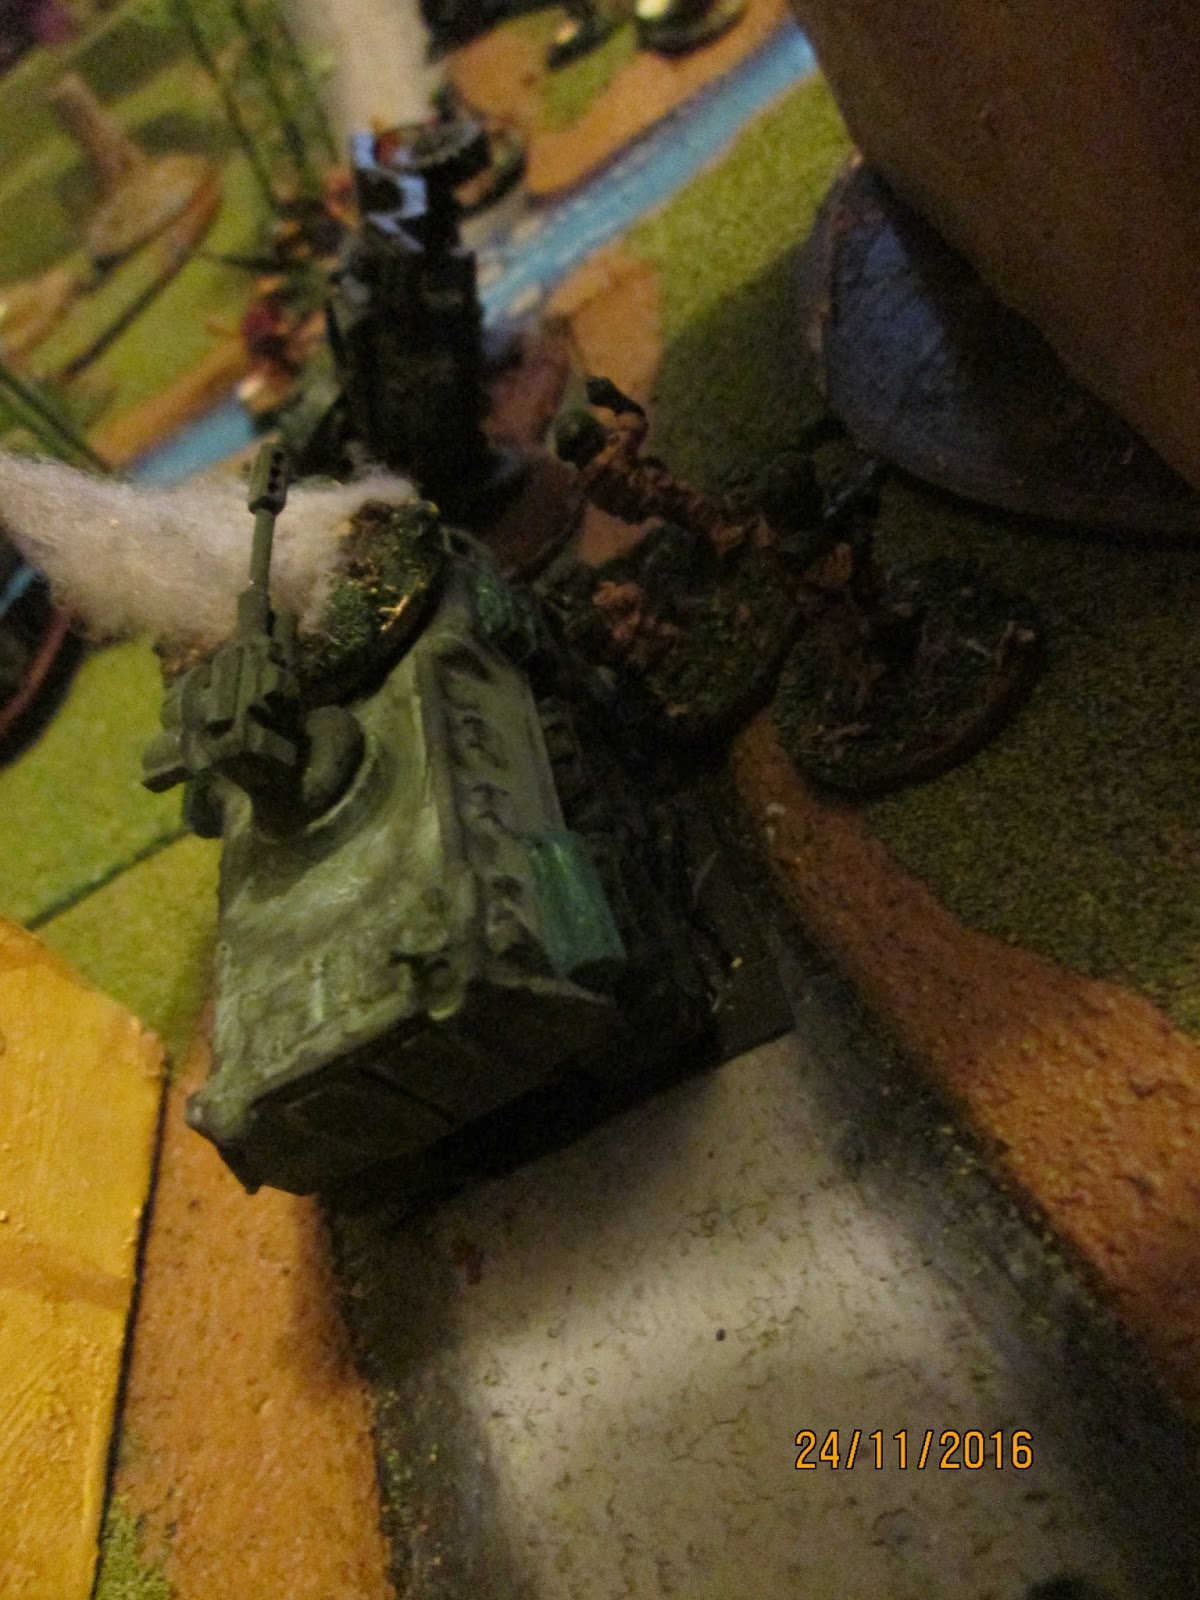
Once
spotted, my scouts were locked into a KO battle that saw them all
scrapped bar one of mine. With most of the missiles gone the tank
made a move, took out an (empty) APC before stalking and killing the
last scout. Mention in dispatches the one IFV Tony used that got
stunned, but managed to shrug everything else off including an aimed
shot point blank buzzbomb. Then it woke up and minced my waders.
That allowed waves of infantry to come in and cheese them.
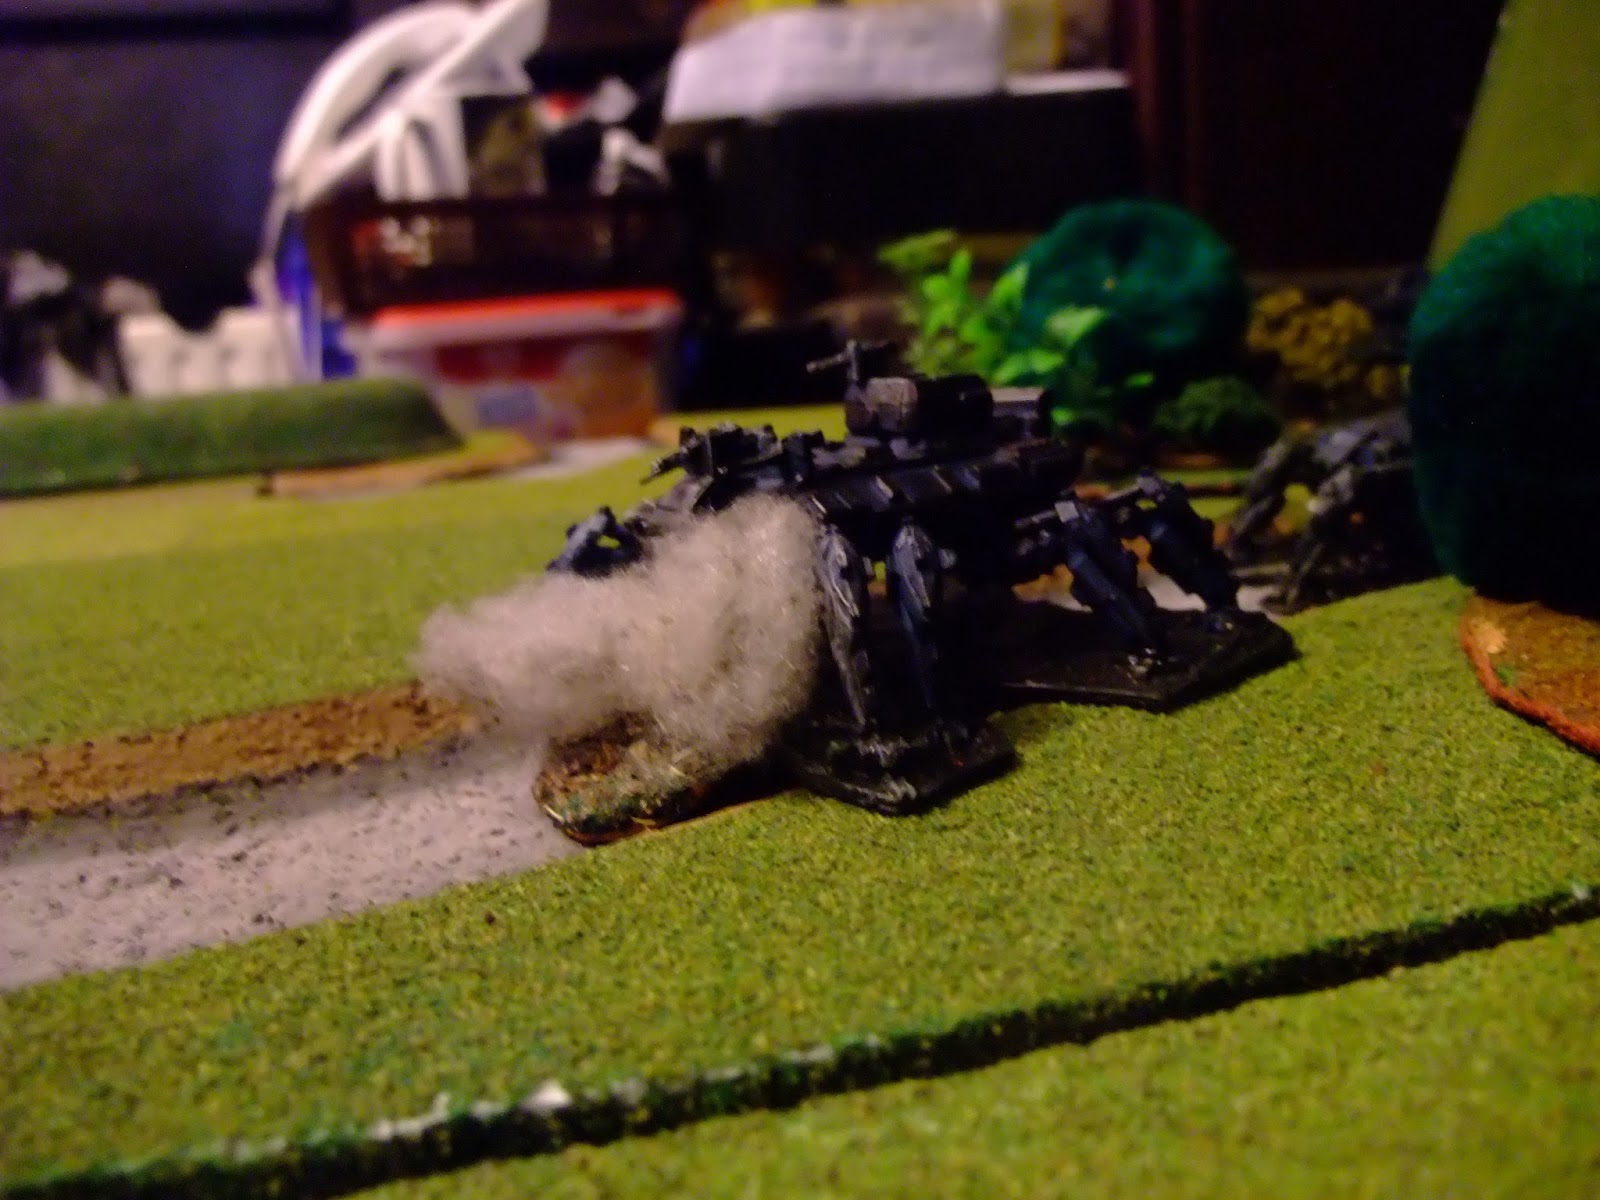
In the
centre this looks mad, advancing troops against this much armour, but
it was either dead or stunned. Tony again had to rely on throwing
infantry at me. But that's how we see these guys MO.

 I just
couldn't handle the infantry, perhaps I should have advanced my other
unit into the middle to spread the pain.
I just
couldn't handle the infantry, perhaps I should have advanced my other
unit into the middle to spread the pain.
I got my
command with 3 survivors hanging on, a full APC. Ouch.