I'm a wargamer, not a modeler. Nice scenery good, but I don't want to spend all day doing it. Plus I've no room for sprays or smelly resin stuff. The only reason I'm bothering is that the old "at a distance" has gone out of the window when every phone camera takes zoom-able pictures that allows people to comment "that redhead should have freckles".
I think this is a success. Depth about 2mm. Drying time at 22*c with about 80% humidity. Finished enough to hairspray seal the shrubbery on day 4. I'm sure it will clear up even more. So a technique for "I need that next week" as opposed to "Tomorrow".
Cost. Each board under £1. Most expensive part is the hedges at about £2 a board. For more information zoom pack to my first post in November 19.
Apologies for photos. I'm using my Kindle and it's not as good as most phone cameras.
Mill course on one of my Japanese tiles. Usual layer of ordinary no more nails painted in tester pots.
Central section added using ordinary no-more nails.
Next morning. Looks good - but this isn't the tropics, so-
Wet blended my 2 favorite inks, burnt umber & antelope brown. I was going to add a second layer, but decided to leave well alone.
Not the right mill (buried-) but you get the idea! I tried adding it to the wheel- didn't work, get out the UHU.
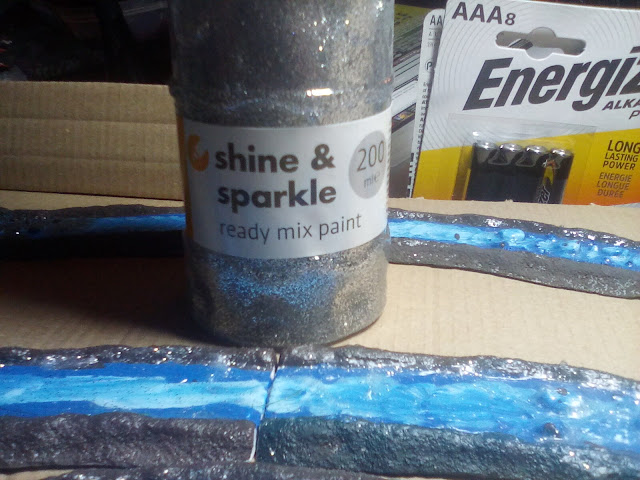
River sections. I picked up these delightfully old-school resin sections at Beach Head. OK, water isn't blue - no river has banks like that. I put on a thin scrape. Painted in tester pots. You can just see a shine in the dry one next to the uncoated. Conclusion - whack it on thick & paint rocks first-- some green foilage or a thin coat of unclear around the rocks would help.
So far so good. Where to go from here? I'd picked up some kids glitter paint from either The Works or Poundland with the view of doing "something". I'd had some before & added it to rubble as broken glass.
This one is the base from above (as the nearest) so its a quick brush over a painted surface, no clear. It's OK, just about usable, the contrast with the rocks shows the glitter.
This was one of the covered ones from above, again a quick brush over. Coverage is better than above & it does catch the light.
Now I tried mixing the glitter glue into the clear hard as nails. Turns out it's a fantastic flow medium. I thought I'd mixed enough for 1, ended up doing 3! It did shrink down, one very small area is clear. Surface is a lot lumpier, so would take a dry brush well.
It's how you want your water to look? From the side it looks like fast flowing clear(er) water you'd find in a fast moving stream. I need to add some foilage, paint the rocks and flock the banks. Watch this space.
River tiles. As seen & used to date.
I painted with a thin wash of burnt umber & antelope brown inks.
I added a lot more shrubbery to the edge, stuck foilage down in widest section with PVA. Next I added clear to the first section. The foilage helpfully added itself, which was nice.
Next day. Bulk dry but some still not clear. Ready to add clear to other sections.
Note- this stuff doesn't flow - it's a paste. No need to seal the ends!
After day 2, still tacky around the edges, but useable with caution.
Day 4. After hair spray sealed.
Oh yes, forgot to mention, as normal with cake boards, no warping.
I like this look. The water is in motion.


No comments:
Post a Comment