Showing posts with label Scenery. Show all posts

Monday, 6 April 2026

Hide Stone and Bone. Painting, basing recipe. Prep work -


First off the wee participants.  All from North Star.  I have figures from Irregular, these are smaller so will make juveniles.

I've divided them up into 4 groupings, each with their own letter bead colour.

Neanderthals.  Fortunately I'd already started these, a pack of command and a few ladies filled them out.

Human tribal, a good mix.


Human bog people.  More gatherers than the tribal.


Human war party.  Big weapons and shields.


Bears & bits!


Step 1.  Base the figure using Hard As Nails (I use this for all scenics) on 1p coins*.  No need for superglue.  Press in the stuff, cover base.  Sorted.

Step 2.  I use white or black gesso as undercoat.  No problems with damp weather, an awful lot cheaper than spraying.  Needs to dry overnight.  Humanoids get white, some lizards (see below) and bears black.  I did some trolls 'cos they came with same order.

Step 3.  Ink the lot in either Daler Rowney.  Let It Dry!:
Antelope Brown, perfect for animals as it has a slight green tinge, should be called antelope shit.  Many animals just need a top up coat and they're done.

Burnt Umber. covers darker, usually one good coat does a lot of the painting!

Raw Sienna as used below.  Excellent base for all browns and flesh.

Step 4. Paint base.  Main reason for this is that you can now use, your figures being above the grey primered plastic so abundant in clubs---.

Step 5.  Paint.  Every Brown Imaginable.  I keep splitting into groups to avoid getting anything like uniformity.  Skin and hair colour. Once you're getting the dark colours done, I gave a slightly watered down flesh wash over everything.  This is leather.

Bears got burnt brown then burnt umber wash.  Black eyes and terracotta for mouth, yellow teeth.  Done.  One has a wounded paw for the wounded beast scenario.

Let it dry.  OK, got that? now lighter colours, such as they are, mostly rawhide and some grey wolf fur etc. Flint and obsidian I painted rough iron, as both look metallic.  Gold jewellery, nice necklaces.

Step 6.  Flock.  We are spoilt for decent mixes, and I make my own.  Don't stint.  If you do in batches use a slightly different mix.  As most are designed for larger scales I often "cut" with cork dust, or even a wee bit of sand.  Tufts are good, but I've resisted that so far except on shrubbery.  I did add a few small rocks.

Step 7.  Spray.  I go old skool and use extra firm hold hair spray.  A can lasts me about 6 months and, considering my stuff gets rough handling, lasts about 2-3 years.  You are now ready to rock n roll.  There is 1 more addition I missed due to time.  A very light cream dry brush.  Go very, very light as there simply isn't the reflective materials.


Once finished a good quality flock.  Mixing flock between batches works.  Anything to break up uniformity!  

There is no contact betwix the extended and the unextended.  Or in other words I'll finished the rest when I can be arsed to paint brown again.


Gor bless Temu - Shein, whatever.  They have tons of um, top quality merchandise (including the storage boxes above) often at stupid prices.

I mount a lot of scenery stuff on 2p coins* as I use movement bases for terrain features in some games.  Plus it stops the damn things falling over like those gawdawful plastic figures.

I got a bag of nice pebbles from Wilco.  Mounting with a touch of veg and flock does wonders.


*  Same size as a Wampum Frugal washer for our colonial cousins.


These lumps are cheap packing foam, saves me a ton of work & they don't look bad.


More packing case "hills".  They come already nicely flocked.  Add an MDF base - they're very light, and flocked.  Sorted.  And they can be carved.  I missed painting the base.


I made this random direction marker ages ago, it's light enough to sit on anything without damage.


This is supposed to be a garden ornament - guess for a small garden!  And the cards.  Nice small cards.  I thought I was buying 1 pack, ended up with 12 small--.


I needed swamp/marsh terrain.  I mase 6 bits and they all got used!  Need a bit of tidying up, but works.  Hobby foam, clear Hard As Nails as the water, then flock.  Edges need doing and some time under a heavy weight.  You can get the latex ones, maybe later.  I've spent enough for now!  https://www.timecastmodels.com/marshes


At the last minute I made tall grass using this awful mock grass offcut.  Again, can be better with a wee bit of TLC.


Saturday, 7 June 2025

Do'oont Pit. Warbases 15mm scenery range

If, dearest reader - you zoom down to the very start of this blog.  I must redo that game!

I'm planning on doing a series of games strung together on the flem of Down The Pit.

Could be Yorkshire.  Mars.  Venus.  Dwarves ho-hoing and Orcs an anorcing.  Daleks and bugs mining.  Quar.


To do that I need basic scenery.  I found this range:

https://warbases.co.uk/product-category/buildings/starbase-962-sci-fi/

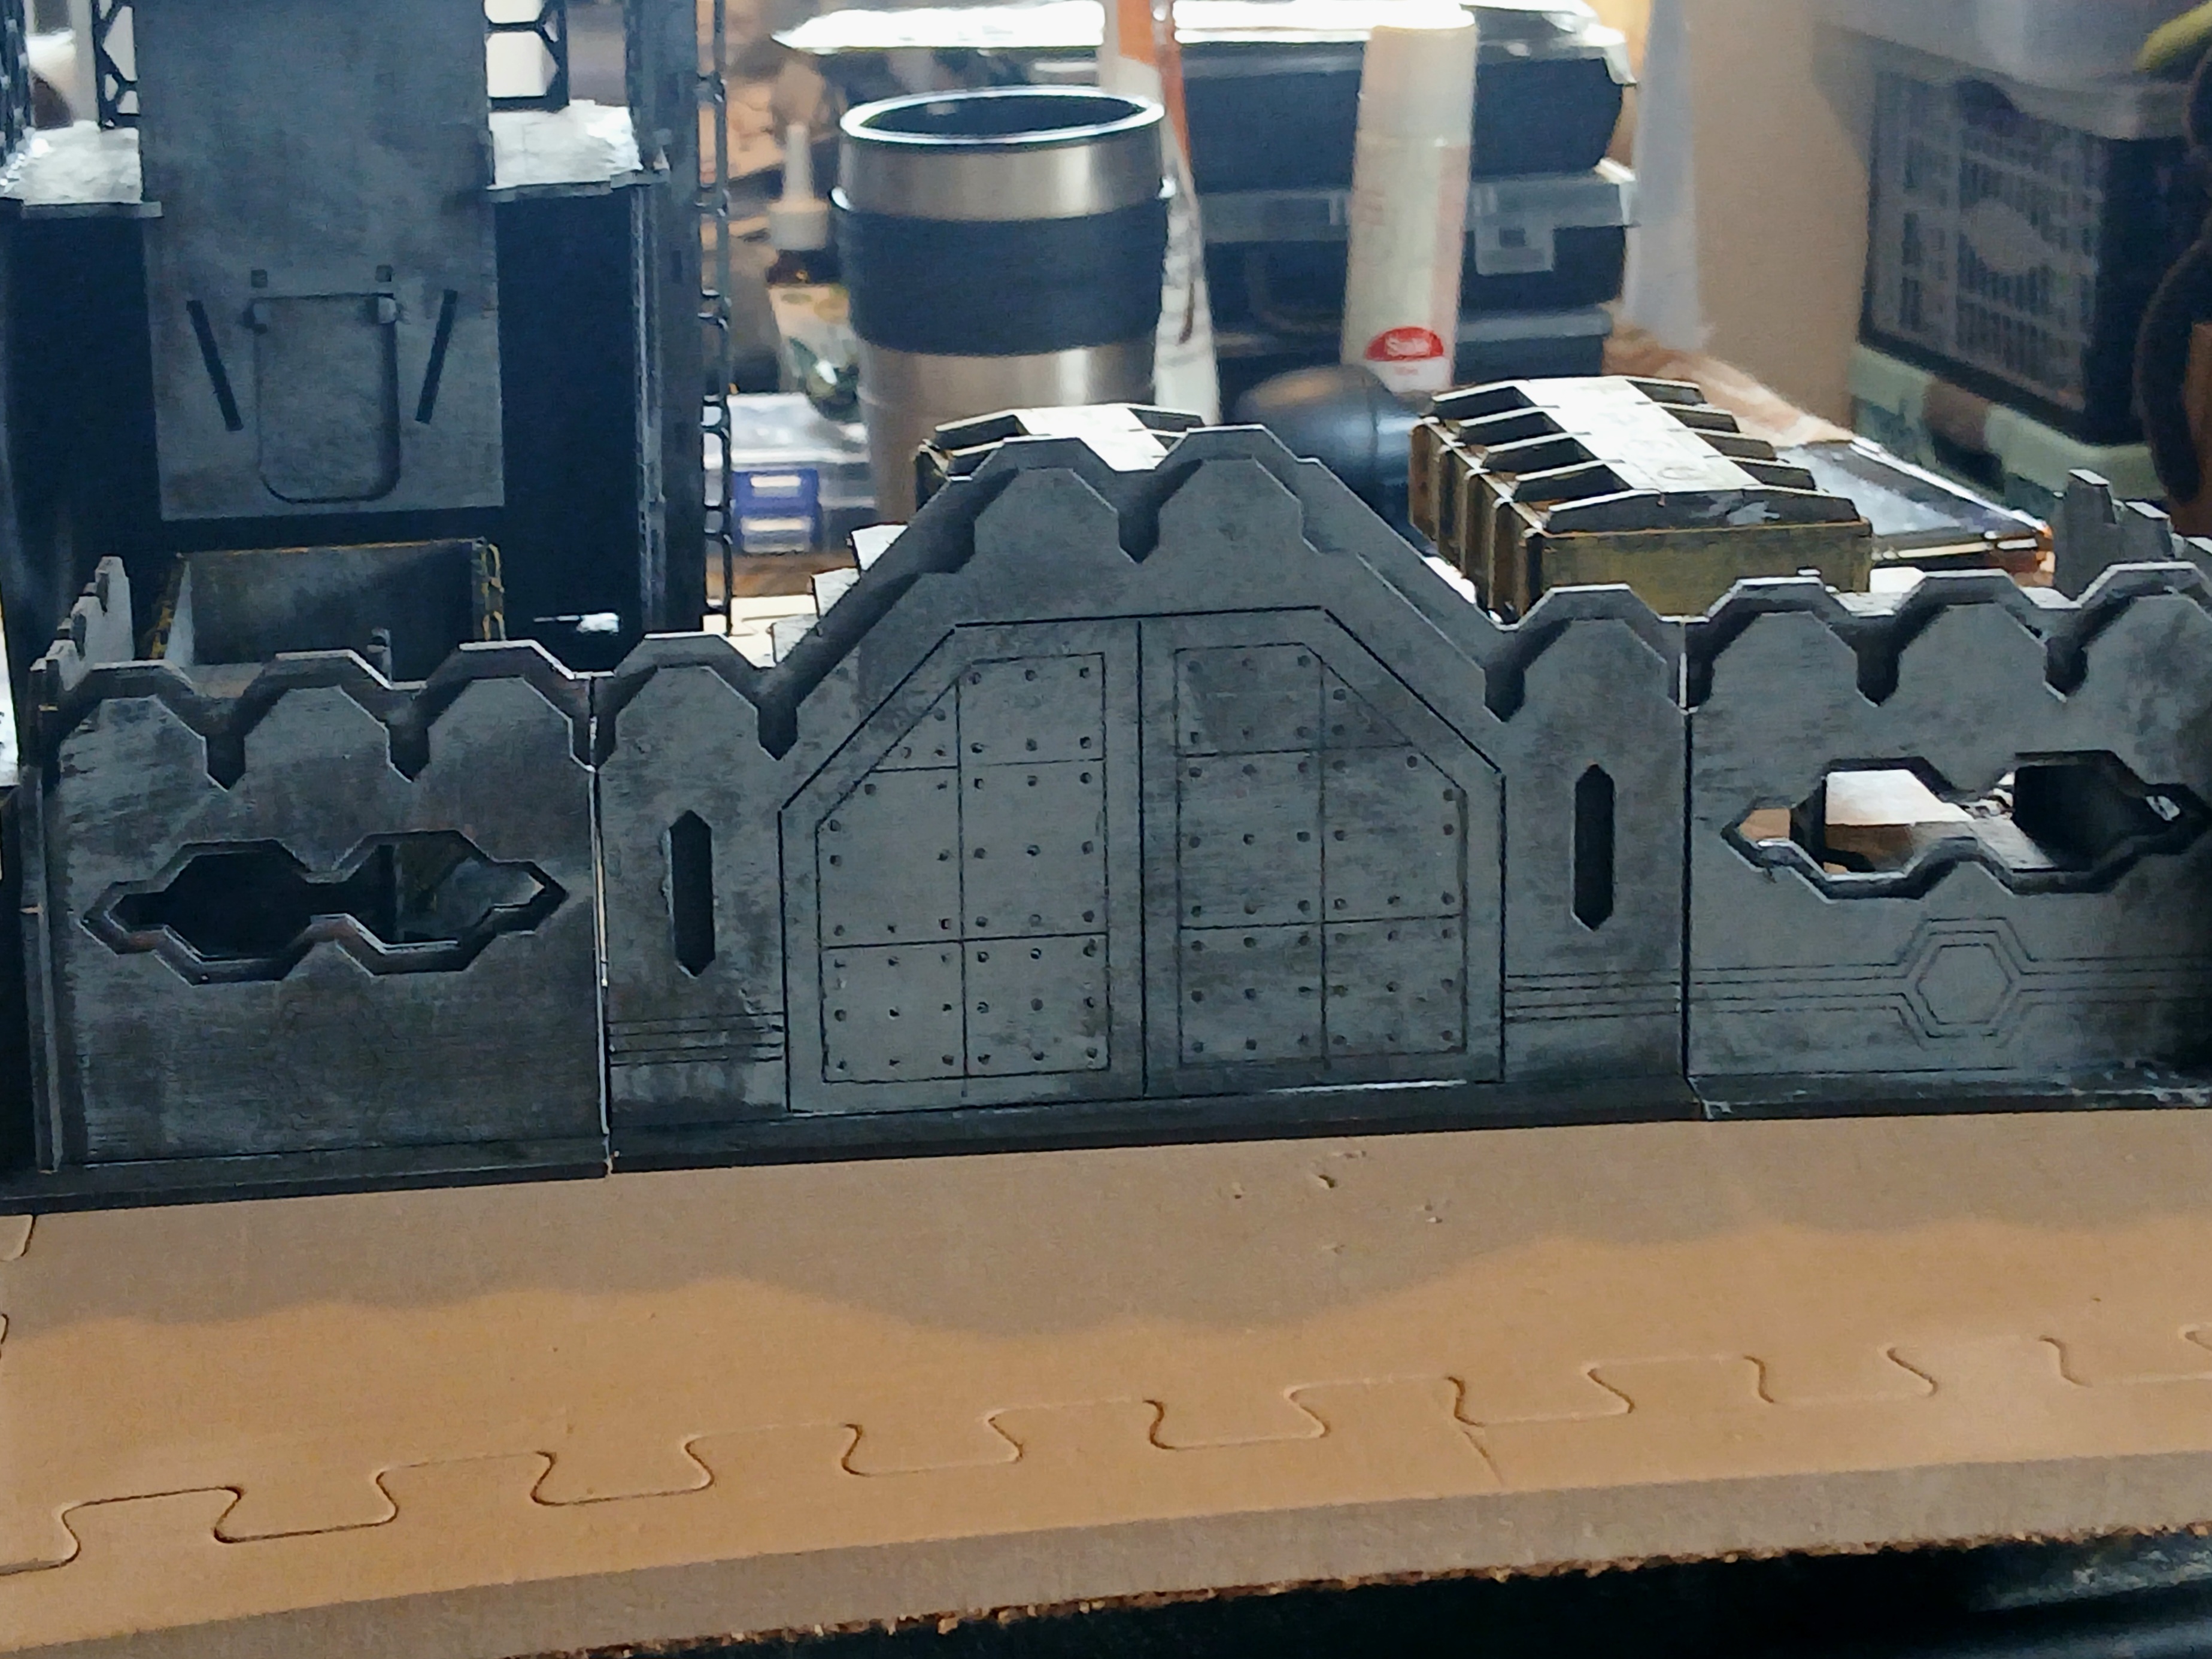
Here's the Wall.  2 edge sections and a gate.  I originally planned to get this as the edge of my Beach Head Mars game a few years ago--.  A bit fiddly but once you get the picture sorted it's not too bad :

Storage containers.  There's a display on the tower plan.  The rib being around the ends-- :

Dice tower.  Oh boy, no need to be a modeller of which I'm not sir.  There is a guide, but that presumes a level of dexterity I alas, lack.  The bottom gridded walls are NOT strong enough to take weight or damage.  I had to add an (Amozan envelope) liner.  add something to the sections before you assemble:


Other suggestions:

Pendraken's Red Vectors range is well worth a look for ruins and barracks - here's the star.

https://www.pendraken.co.uk/red-vectors-20mm-engine-house-and-winding-gear

If you haven't watched the Rani - do so!  https://www.youtube.com/watch?v=v43VOYpCi3o

Blotz.  Here be military buildings.  But there's a lot more!

https://blotz.co.uk/product-category/wargames-terrain/15mm-terrain/military-camp-15mm/


Saturday, 29 March 2025

CD based scenery update. Under the boardwalk.


It's been a while, but - you know.   

Way back in   https://unitrecon.blogspot.com/2015/04/cutting-cds-and-basing-walkers-quick.html

Still a CD.  edged black and a thick black wash in the middle to make the shadow and careful white highlights before adding vehicle.


Basing stuff on CD's is common.  I've had this idea brewing for some time, then I was given a small pile of CD's and Hard as Nails.  Perfect.  I had these 28mm Blotz fence bits left as I used the support for Japanese village fencing.  I'd used them before as duck boards in trenches.

A coat of the hard as nails, scrap card across the holes.  Left to dry.  That's the hint, allow to dry!

I used another CD to mark the curves and strong scissors to cot.  I'm sure most of you would be neater.
 
A bit of time post doctors appointment spent at Entoyment.  More hard as nails, of course. 


Note you can still see some of the cardboard - this was not a thick coat.


I made a shell crater.


I found this colour in Neo Wilco's.  I like the cover!  


I was going to use my favourite antelope Brown ink on the walkway, but a simple wash has done a good job.  Main advantage of a CD - it doesn't care about getting soaked.


Last process, although I might touch up the odd white spot.  I added a scrape of No More Nails clear.  You can get it on Amazon.  This was the costly bit, about 50p?

Note that by the time I'd finished, the first was already drying.  This stuff has a rather nice, fresh vinegar smell. that went after 20 minutes.


The next morning.  Most had dried, leaving in a window will cure completely.


Uses:  Cratered areas for Quar.  Zenus and Paleo diet marshland causeways.  I'm sure they'll be more.  I played around with some stuff I had at hand, temu clumps and 
https://entoyment.co.uk/collections/warpainter-scenics?page=3  rubble and craters.  

Plus:   https://www.youtube.com/watch?v=aNaXdLWt17A