Sunday, 10 March 2024

Paleo Diet - Back to the past with Wilma and Betty.


It's been a long time!  Been a winter-- but we're coming out of it.

The rules are co-operative.  Beasts react to set circumstances and on failed activations.  There's different tables for each type.

This makes a pretty quick game where you never know what's going to happen.


I made some astute purchases ahead of me imminimyynent move.  One was to Irregular Miniatures, that included a set of Tusk figures and mushrooms plus small nasties, featured here,  that are a big saving on the individual. Plants were freebies from Alternative Armies.  My aim is to make a swathe of these and smaller scenic bases.


Tusk figures pack - somehow I missed the small mammoth.


I've been collecting the odd and downright weird to "do" the Space 1899 version of Venus.  The old Asgard T Rex is perfect, even though it's supposed to be some obscure scale--?

Are you my ancestor?  Croms Anvil terror bird:  https://www.checkpointminiatures.co.uk/product-category/15mm-ranges/croms-anvil/

The Lizardmen are from the Martian Empires range:  https://fighting15s.com/product-category/martian-empires/lizardmen/?v=79cba1185463

These are painted in hobby paints, not modern miniature paints and decades old. Firm hold hair spray, works wonders.  


The (now) Checkpoint has some excellent bits dotted amongst their huge ranges, well worth a wander!  https://www.checkpointminiatures.co.uk/product-category/15mm-ranges/sci-fi-15mm-ranges/


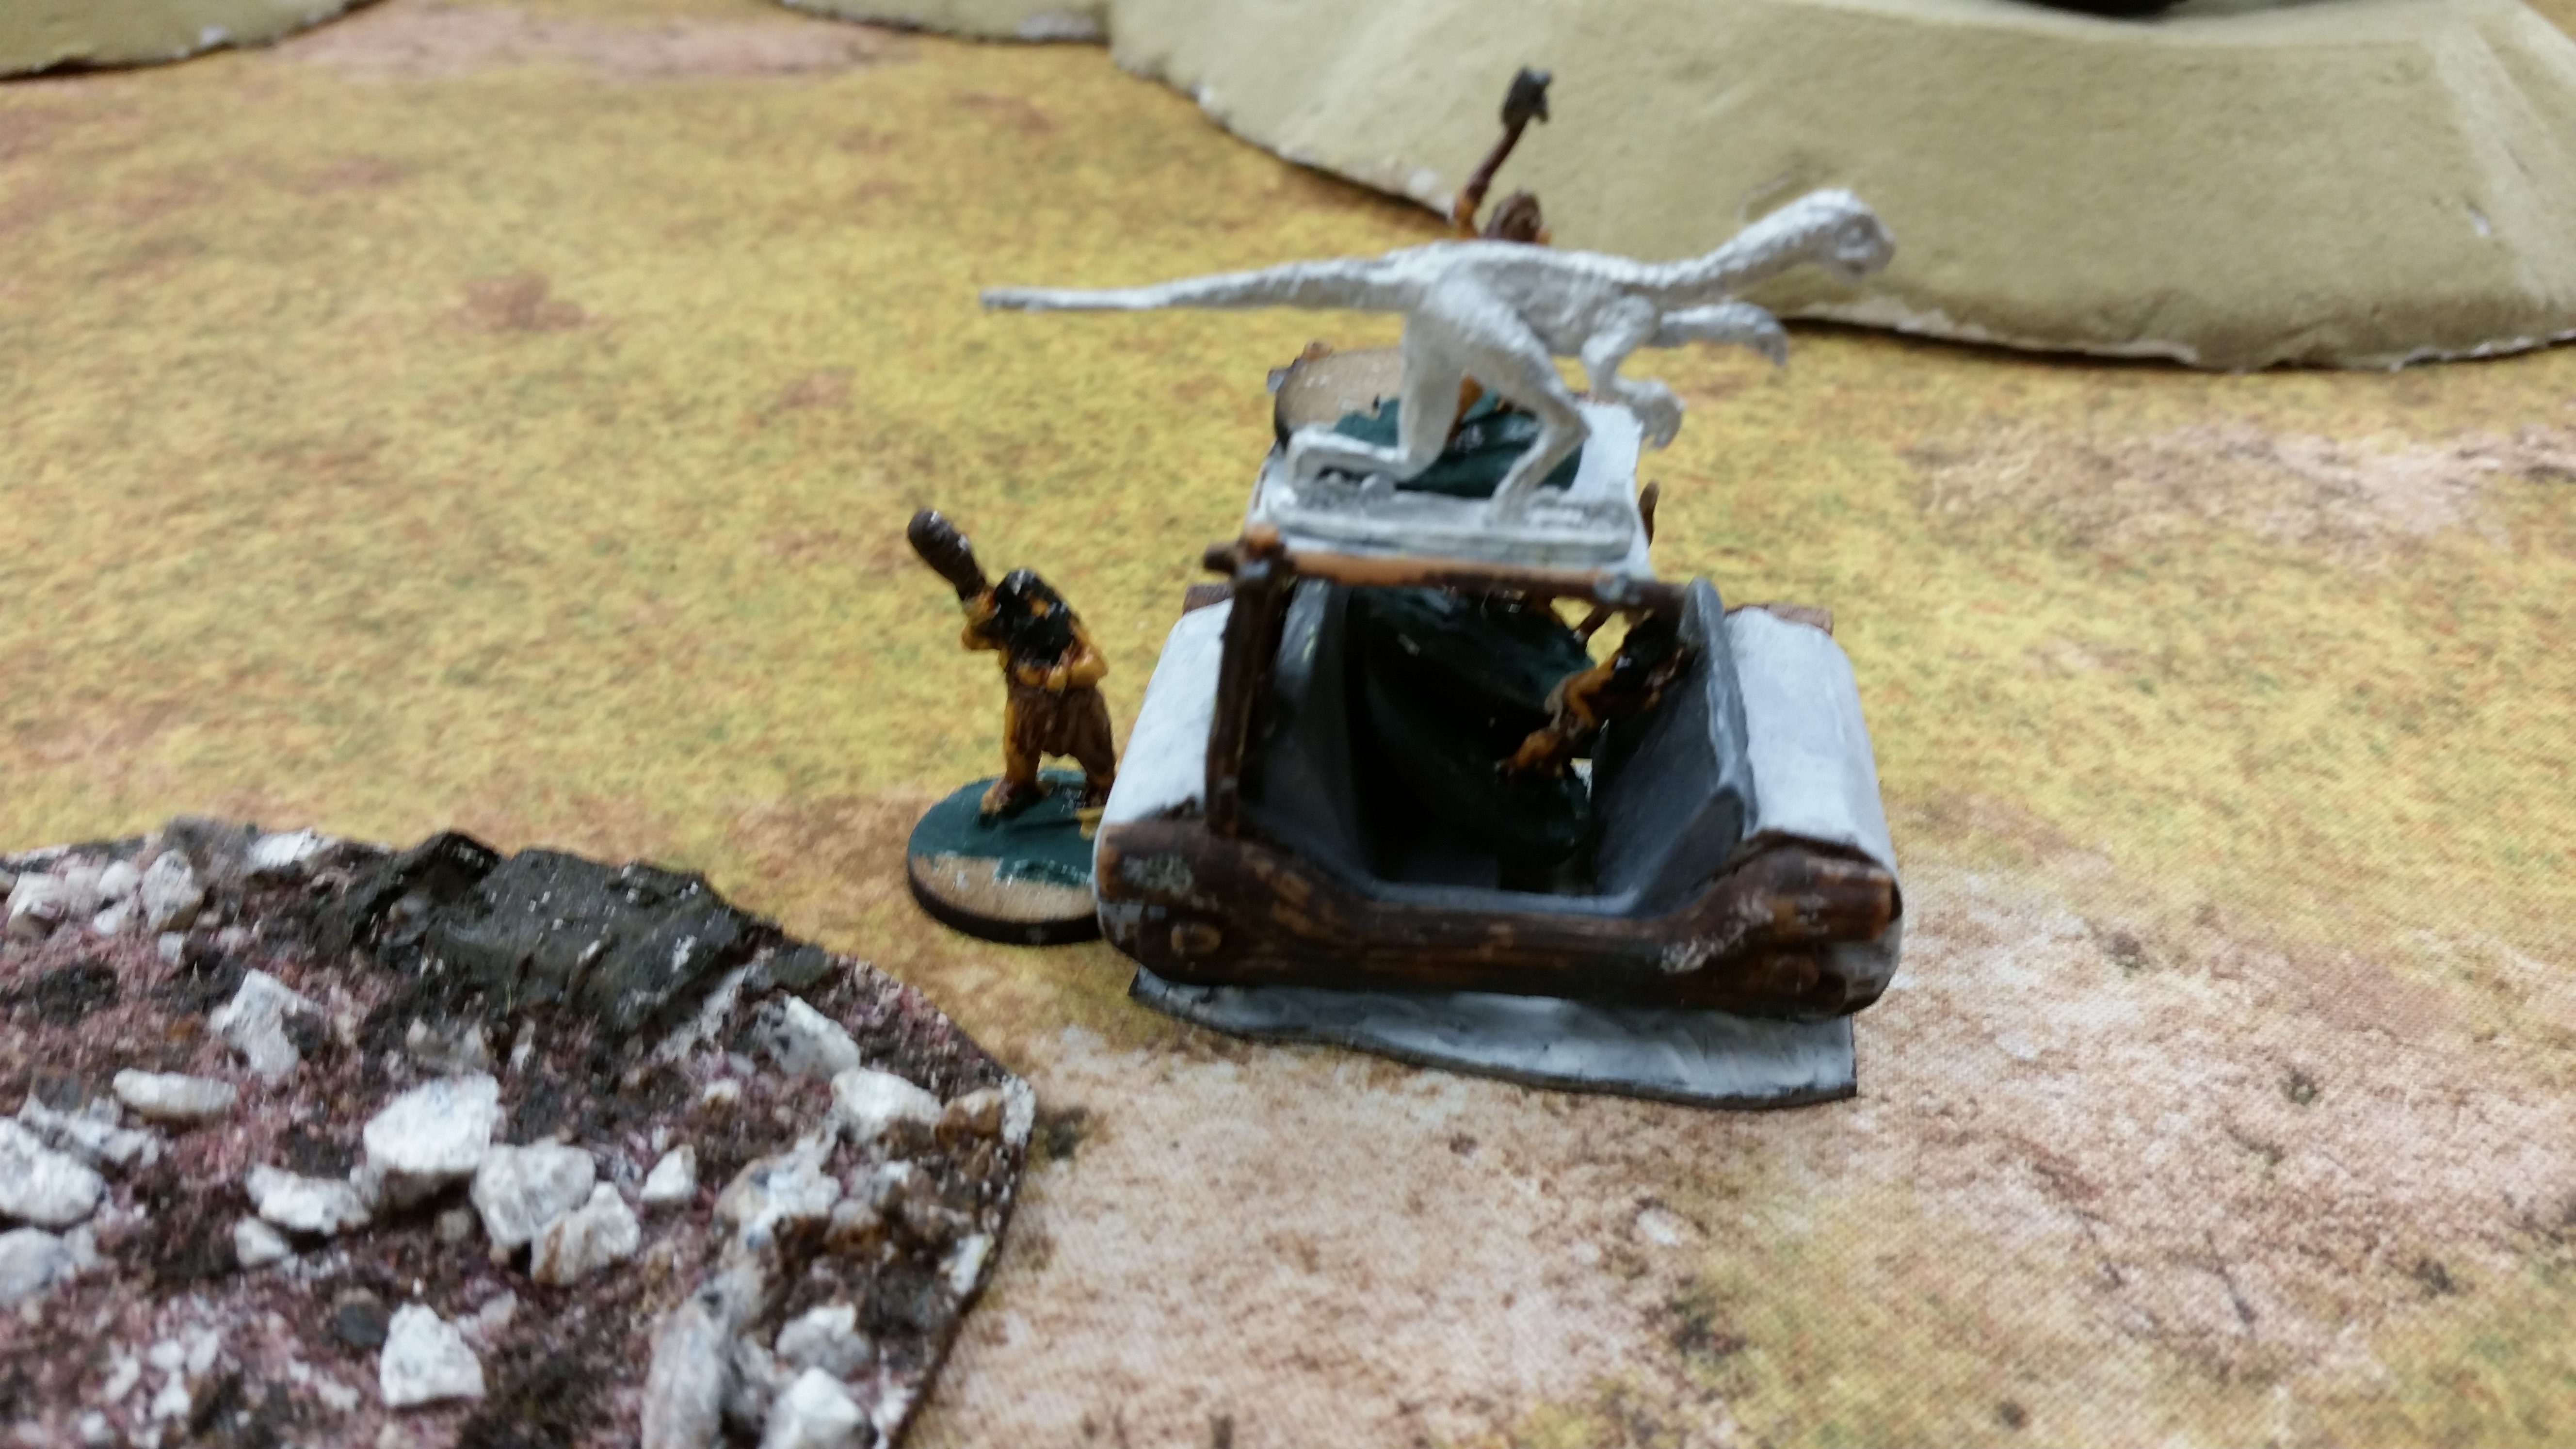
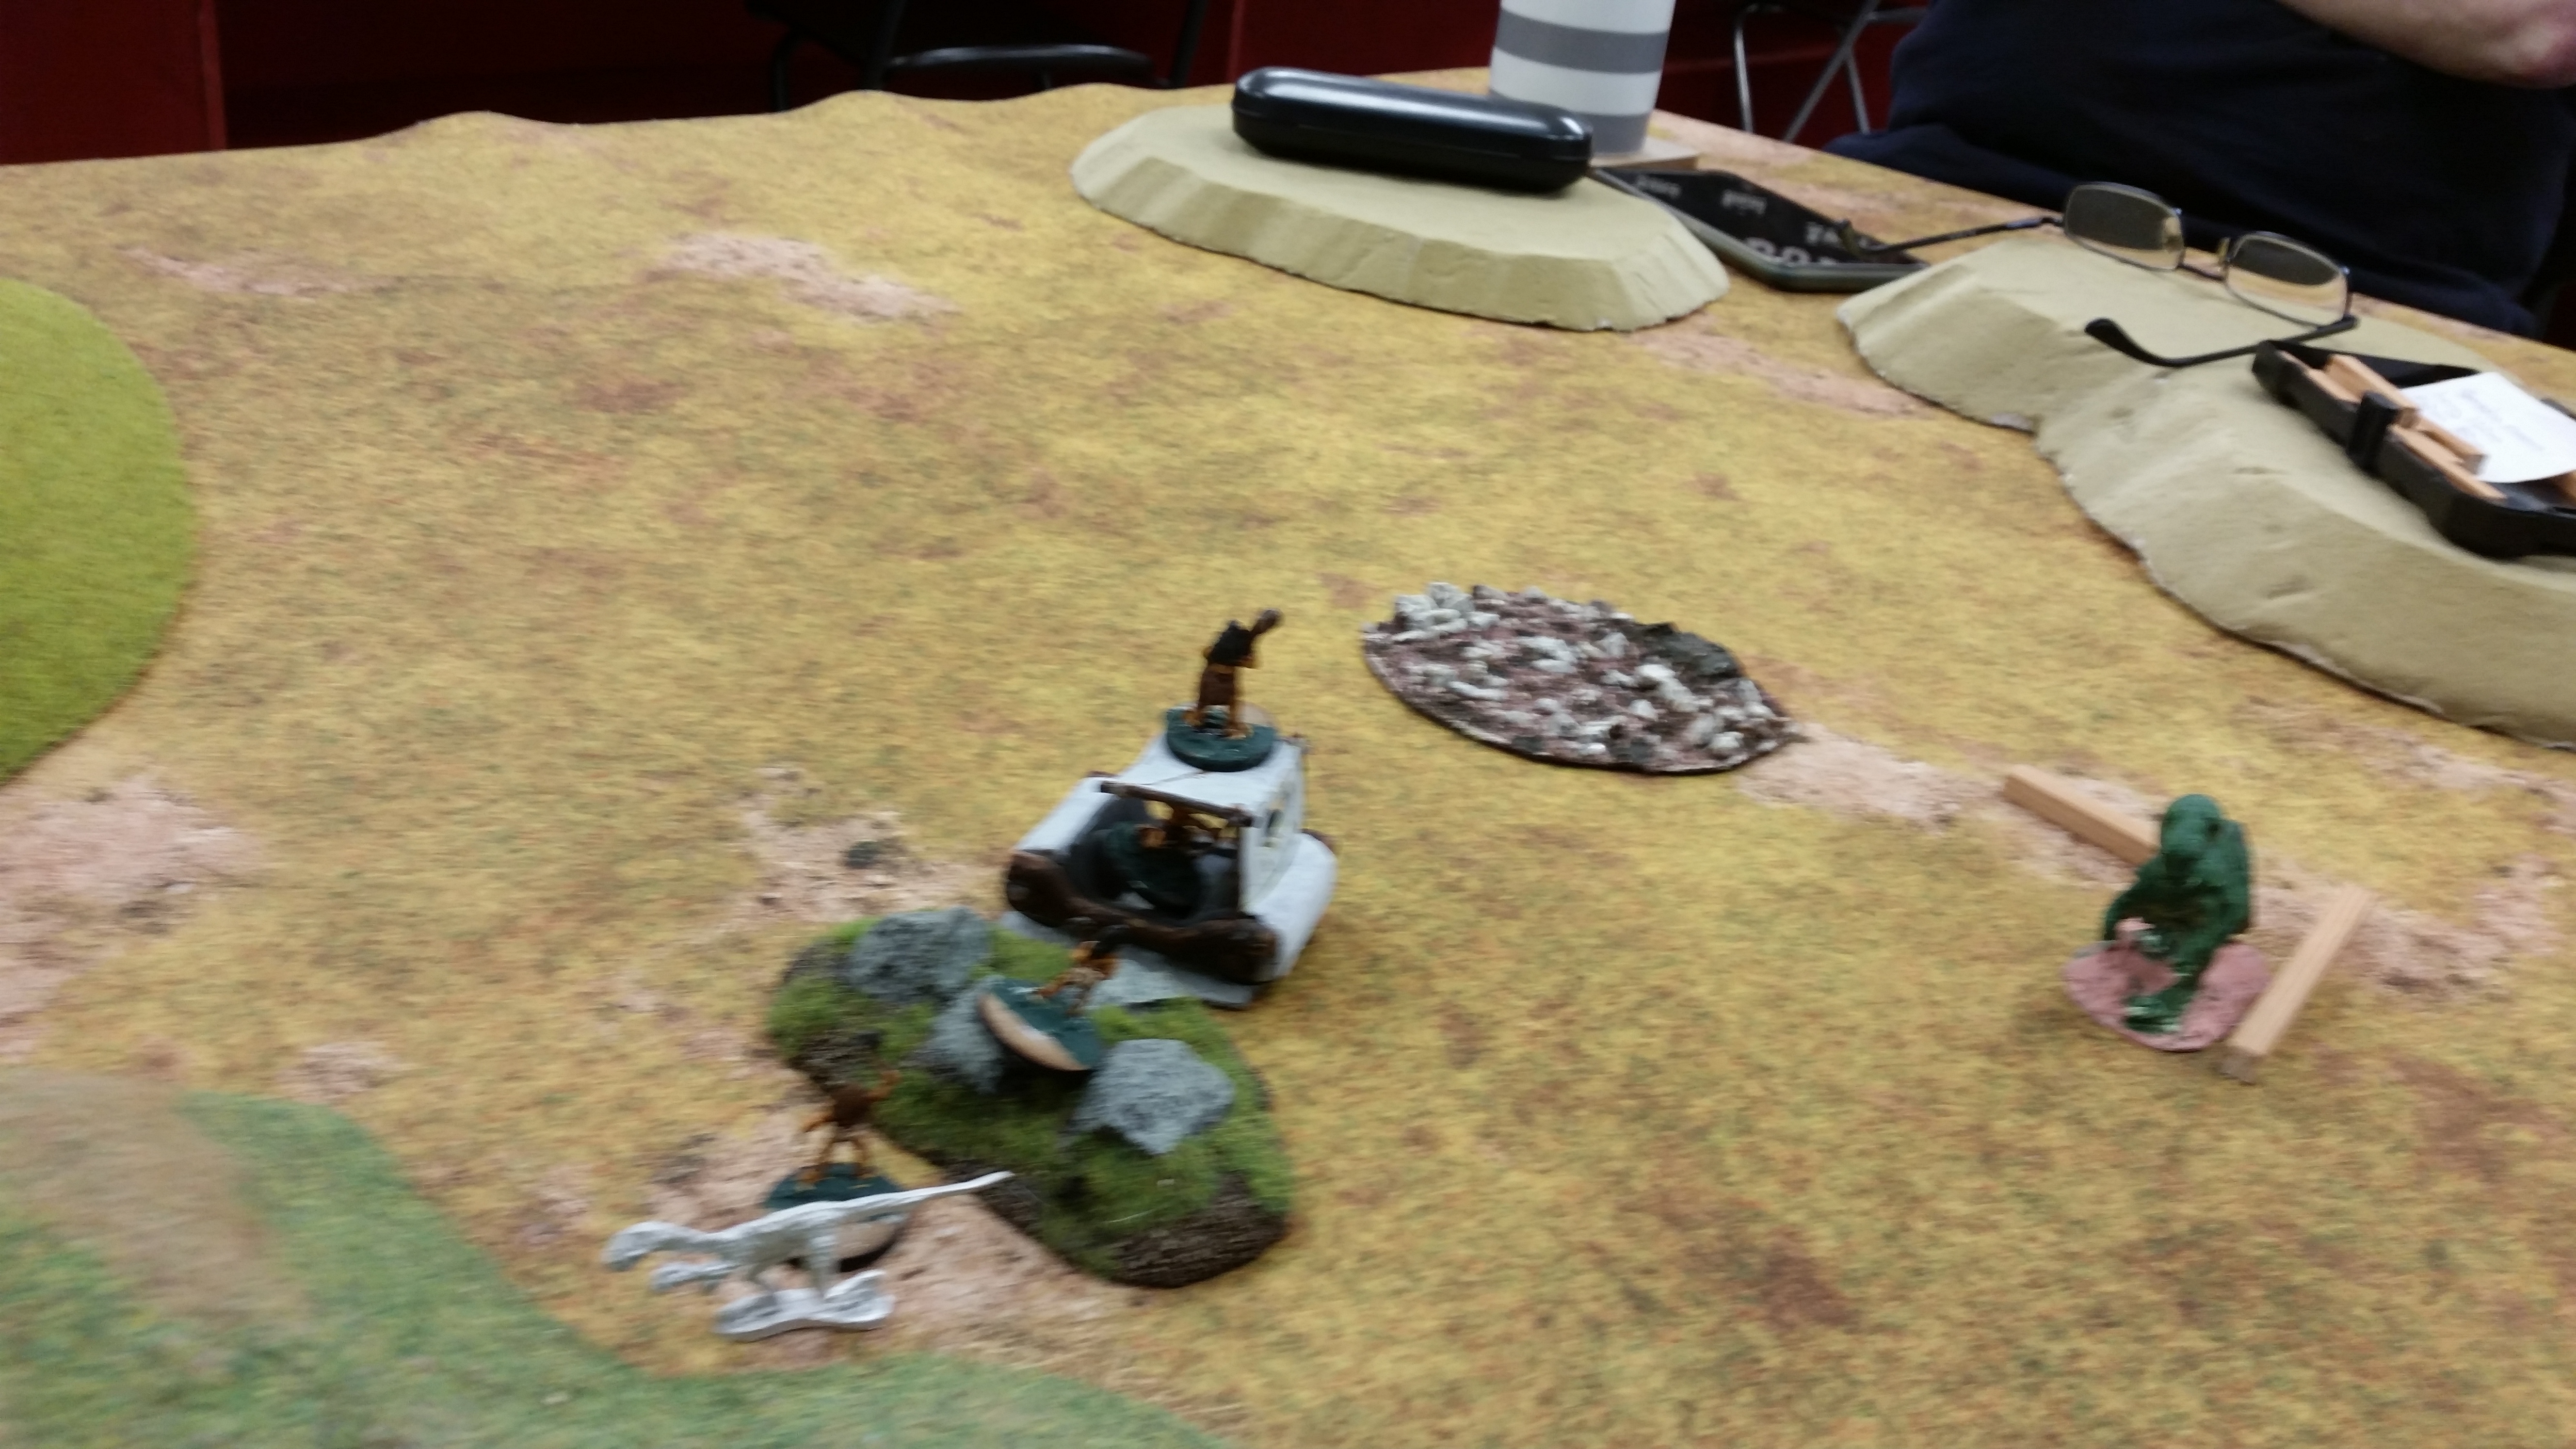
Game 1.  A light game to refresh memory and introduce Easton to the rules.  The Flinntstones and Rubbles are out for a drive when Fred (failing in the uniquely American ability to drive whilst looking at the passenger), hits the one patch of rough ground in the entire area.  To make things worse, there's this old T Rex prowling around---.


I cannot find my proper measures, so Tony made these wooden ones.  PUSH!  Concerted effort and the motor is off the rough.  But the motion is attracting attention--.  Quick rules note - I used the large predator table, but if I'd used the King Tyrant list from the Pulp supplement--.


Pedal to the floor people!  Do a wheelie!


Crunch!  The canopy gets chewed!


Wilma shoots at the beast, it retires.  But then it returns and roars!


Betty, Barney and Dino do a runner!  Can't blame them!


Chomp on the canopy again!


Shooting at its gaping maul, Wilma drives the beast away!


GET IN!  It's coming back---!


Dino is a problem (I used the hound chart),  more shooting keeps the beast at bay.


And they're away and Dino finally realises that he'd make a tasty snack.


Game 2. A traditional mammoth hunt.  You get one hunter per beast.  Fire starter, brute, archer and axeman.  I missed some pics as I was running the wee beasties.


Starting to herd towards rough ground.


Firestarter starts to burn up the plain.  Yes, I need better markers!  Close, next move brings one within a long and it reacts by moving away.


That worked, so firestarter moves and has another go--


I used some green stuff to rough out the coat, which needs dry brushing.  Bases as old credit cards.  These are 3 piece metal and quite heavy,  each weighing more than the plastic murmakil from lotr.


Getting there, if they don't lose them---.


Fire no. 3.  I better and more markers.


The youngster has been separated, time to move in.  The archer shoots at the mammoth, who goes the wrong way-


Confrontation, but no-one is killed!


Not going well--


Really not going well.


Whack the baby!


Baby is down.  Dinner is served.  Time to call it a day!


Game 3  I missed some, grub arrived and I got distracted whilst my phone charged.  Bit bigger game, a herd of mixed grazers, a nesting site of terror birds.

All was going well until one gets too close to a dog, and the whole herd stampedes backwards!


Twice the birds could have been triggered, but both times I rolled a 1. The brute takes the brunt, gets and gives a wound.


Now is the time to run dinner down.


2 that got away, if they'd continued chasing them into bird territory---.


Monday, 5 February 2024

Lion Rampant recreating a film, The War Lord.

A simple 3 part mini campaign.


I  
tried to download the film and rewatch. I was pushed towards a rather dodgy download site - just give us your card details- no thanks.

It is available through Amazon on disk.


The War Lord is a 1965 American historical romantic drama film directed by Franklin J. Schaffner, based on the 1956 Broadway play The Lovers by Leslie Stevens. It stars Charlton Heston, Richard Boone, Rosemary Forsyth, Guy Stockwell, Maurice Evans, James Farentino, Niall MacGinnis and Henry Wilcoxon. Schaffner, Heston and Evans later collaborated on Planet of the Apes.


Raids don't feature enough in wargaming in relation to their historical prevalence.  I'm doing this "pure" historical, but there's no reason not to use it for almost any period.

This game is great for scenarios, but we can go further.  Spend the same points per side? 

Leadership skills p70.  All of these games are very leader-driven. 

Boasts p107. These are a fun addition.

The plot.

Chrysagon de la Cruex is a Norman knight whose Duke gives him a Flemish village to rule and protect, commanding him to keep their goodwill.

Battle 1. He and his men arrive in time to beat off Frisian raiders who leave behind a boy, the son of their leader, who conceals his identity. Chrysagon encounters Bronwyn, his future love, as she is being harassed by his own men. Gradually he finds himself falling for the girl he has rescued. Odins, the village chief, later asks Chrysagon's permission for Bronwyn to marry Odins' son Marc, to whom Bronwyn has been betrothed since childhood. Chrysagon approves, but soon regrets the decision. He wants Bronwyn for himself.

He later learns that the pagan practice of "droit du seigneur", though condemned by the church, still survives. Bronwyn and Marc are married in church and also in a riotous pagan celebration. Chrysagon appears at the latter to claim the right right of the lord to sleep with a virgin on her wedding night. While three men restrain Marc, Odins declares that Chrysagon has the right, but all must be done according to the ancient ways, which are rooted in the sacrifice of a virgin to ensure fruitful harvests. Otherwise it is rape. Chrysagon agrees to the Druid way, to prepare a ring of fire in a high place, with his men “wearing iron and standing.” Bronwyn will be brought at the rising of the moon and reclaimed at sunrise.

Odins leads the torchlit procession past Chrysagon's men standing as an armed guard, to the chamber at the top of the keep. He tells her she can go but confesses his love for her. She loves him too. Odins comforts his son.

Bronwyn and Chrysagon watch the sunrise. He puts his father's ring on her hand and tells his brother he will not give her up.

Marc admits that Chrysagon had the right but he and the villagers are is outraged when Bronwyn is not returned. They do not realize that she is staying of her own free will.

The village sends Marc to contact the Frisians, with evidence that the boy is alive. Bronwyn and Chrysagon are on top of the keep. He talks of carrying her to a far place, after his duty to his Duke is done.

Playing Battle 1.  Easiest way to do this is to have 3 objective markers in a triangle:  
The raiders ships in the corner of raiders deployment.
Small chapel in a wood, possibly on a low hill.
The tower on the same flank as ships,  in the corner of the Norman deployment.

Terrain.  You can use Western terrain generator on p 130.  Or consider the area between the tower and ships rough going (beach, salt marsh).  Small settlement around the chapel.  Take note, as you'll need to repeat.
Forces. I'd suggest keeping to 24 points.  P178 Sea or land raiders, or 183 Viking sea raiders.
Normans - well, Norman P182.  Although I'm tempted by the Anglo Norman list for later games P183.
I suggest the raiders are the attacking unit.  Note - each side starts with an objective secured, but may need to guard the same.

Battle 2. They see the Frisians hacking at the drawbridge and sound the alarm. Chrysagon climbs down to attack them, wearing only his braies.

The raiders lay siege to the place, nearly all the village is with them. They call for the boy. Draco demands ransom. Later he leaves, alone, perhaps for help.

The besiegers bring up a battering ram. Lacking a grappling hook, Bors slides down to retrieve the anchor of a boat. They use it to overturn the battering ram into the moat. That night, sheltering behind hurdles, the Frisians set fire to the doors. The defenders use hot oil, which burns up the drawbridge.

Playing Battle 2.  Now it gets interesting.  If you look at the poster above, the tower looks like one of the old Roman watchtowers or lighthouse.  There will be the remnants of the curtain wall and a shallow ditch.  All of this will be rough going.

Forces.  The Normans are now dismounted.  Crossbows are split in 2 as skirmishers manning the walls or the tower. (Sorry, you're going to have to eat pringles) 

Attackers Need to sacrifice heavier units to accommodate the locals.  A mass of levy infantry, a Light Infantry Bondi and/or skirmishers.

This game cries out for a Challenge, a battle betwix the leaders on the bridge.  P33.

This is a battle for the gate.  If the raiders get in, game over.  

Battle 3. The Friesians and villagers build a siege tower, with a bridge that will carry them to the top of the keep. Suddenly, huge boulders and balls of fire descend on the siege tower. It is Draco, come with help from the Duke, including a catapult. He has also been given the demesne. He attacks Chrysagon, who stabs him unwillingly in the struggle. Draco falls to his death.

Chrysagon takes the boy to the Frisian camp. The leader offers him a place with them, and sanctuary for Bronwyn, who Chrysagon calls “my lady”. Chrysagon plans to go to the Duke and mend things for the people. But Marc jumps from a high tree wielding a sickle, wounding Chrysagon under his arm and running for Bronwyn, he is knocked over and becomes impaled on a tree branch. Chrysagon confers the fief to one of his men, until he returns. Bors and Chrysagon, clutching his wounded side, ride off.

Playing game 3.  Terrain.  I'd suggest dividing the table diagon alley.  Tower and defender in corner with the raiders deployed along the diagonal and the relief force on the regular edge away from the tower.

Version 1)  Play after game 2 reaches a dramatic climax and "top up" with the relief force.

Version 2) Set up as above, but play with whichever army list you prefer and add at least 1 unit of infantry as the defenders.

I'm trying to make sense of the "Flighty Light Troops"  Watch this space or follow the argument on the Lion Rampant facebook page:  https://www.facebook.com/groups/411956772300198