Last time, a mere month ago, I tried using "flighty" skirmishers. Didn't work.
My "biggie" this time is the Welsh. I can see why this variant will not appeal to the larger scale as there's a shed load of light troops.
I hadn't considered this a series, rather a prelude to my "not Robin Hood" campaign.
Day 2 I'may having a rethink that with regards to playability rather than depth.
https://unitrecon.blogspot.com/2023/07/planning-lion-rampant-campaign.html

A sort of apology for the non-finished state of the figures. All here have been recently purchased and started. Still more you haven't seen!
Once I've moved they will get done proper. Honest. They are on the table being used.
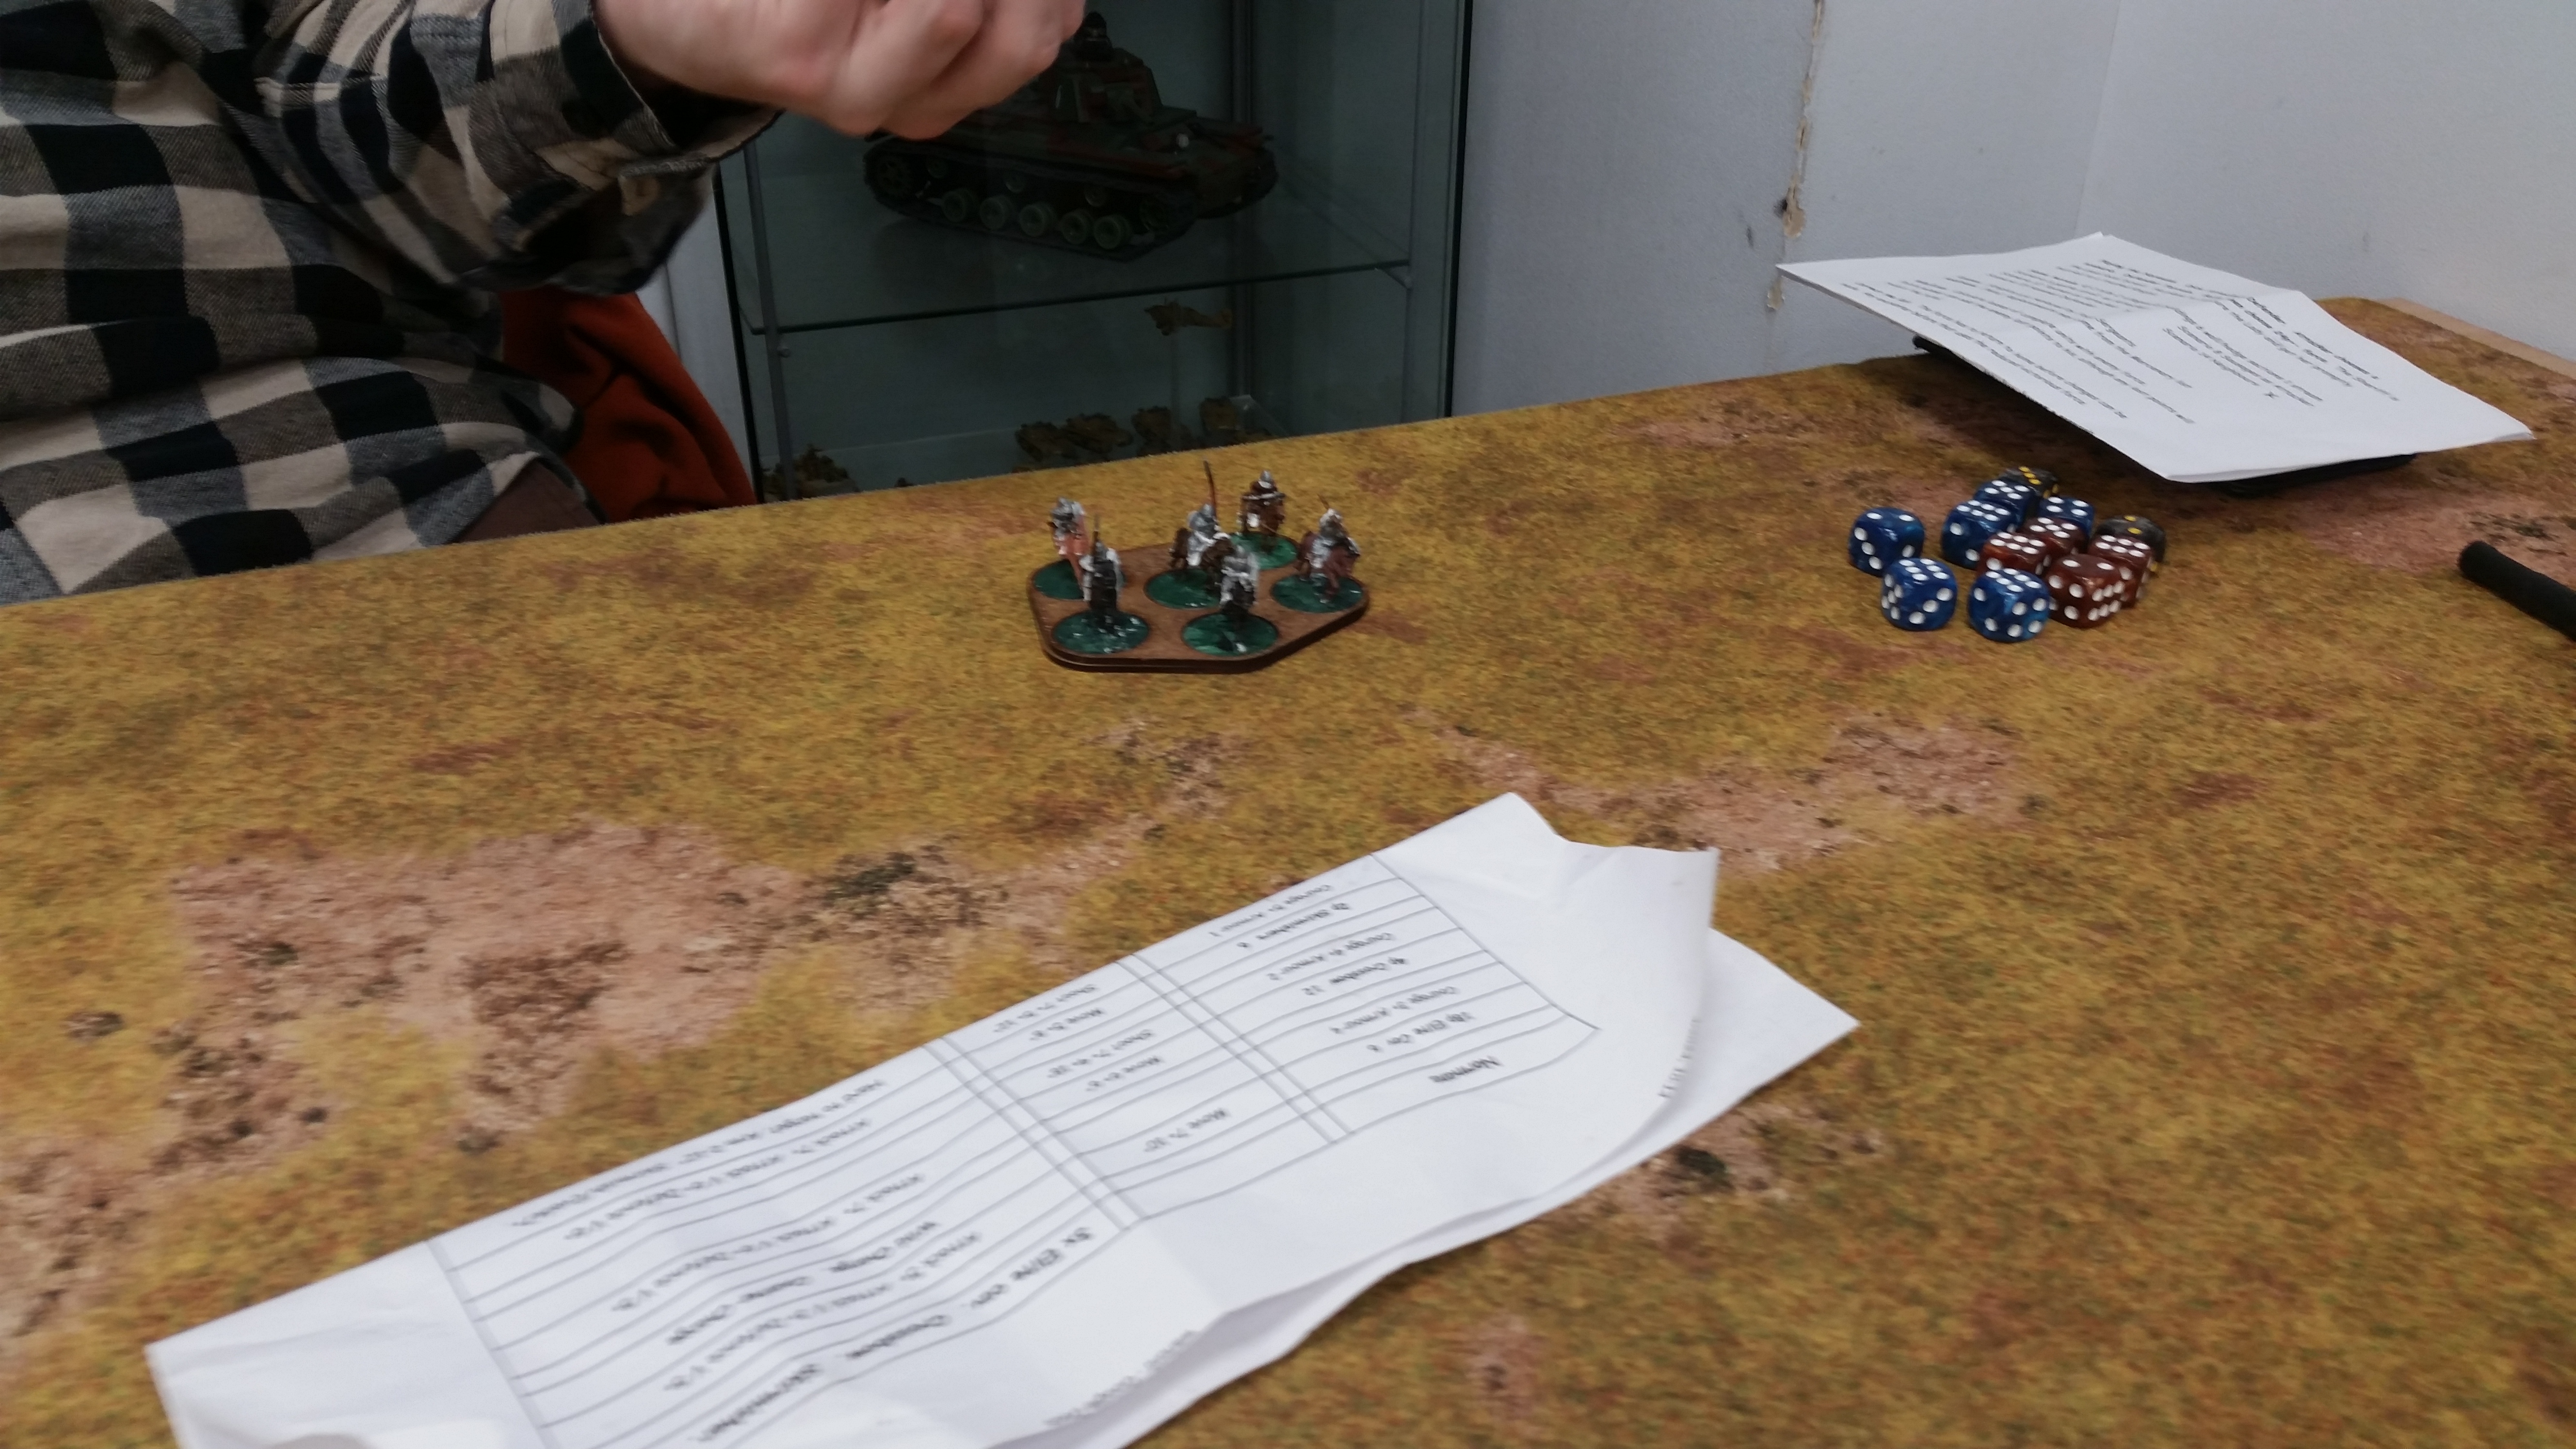
Debate. The Battle Valor in front are black gesso then grey drybrush, as are the cavalry. The rest are Museum Miniatures and white gesso. That starts to win when washed. Watch this space.
And lo! It came to pass that the Committee for Fun decreed that the first Thursday of every month is deemed a Monday and that whilst attendance is, of course voluntary, any non appearance will be subjected to the attention of the House Rules Sub committee. Thus we lost Matt on day 1 and we made the unusual step of returning to the same the following week.
For week two I spent a day tarting up my Battle Valor infantry to use as the Sea Raiders option. Nice mix, most in tunics with a few bare chested and in quilt. Very few in mail and a couple in horned helmets! I'm nine figures short.
https://www.youtube.com/watch?v=05nLCwyv_DA
I had taken a few short cuts with the play sheets. I've revised here:
Viking Sea Raiders |
|
|
| 2 elite, 2 vet HI =24p |
|
|
|
|
|
6p Elite Infantry 6 |
| Move 5+ 6” |
| Attack 5+ Attack V 3+ Defence V 4+ |
Courage 3 Armour 4 |
|
|
| Flexible. Normal attack/defence in rough. |
|
|
|
|
|
6p Vet HI 12 |
| Move 5+ 6” |
| Attack 4+ Attack V 5+ Defence V 4+ |
Courage 4+ Armour 3 |
|
|
| No wall of spears. |
|
|
|
|
|
OR Sea Raiders |
|
|
| 4x warriors. 1Sk. 1x Vet HI as above = 24p |
|
|
|
|
|
4p Warrior Infantry 12 |
| Move 6+ 8” |
| Attack 5+ Attack V 3+ Defence V 6+ |
Courage 4+ Armour 2 |
|
|
| Flexible. Wild Charge. Counter charge vs Infantry |
|
|
|
|
|
1x 2p Skirmishers 6 |
| Move 5+ 8” |
| Attack 7+ Attack V 6+ Defence V 6+ |
Courage 5+ Armour 1 |
| Shoot 7+ 5+ 12” |
| Hard to target. Arm 2-12” Skirmish/Evade7+. |
|
|
|
|
|
1p Levied Locals 12 |
| Move 6+ 6” |
| Attack 7+ Attack V 6+ Defence V 6+ |
Courage 5+ Armour 1 |
|
|
|
|
|
|
|
|
|
Normans |
|
|
| 3x Elite cav. Crossbow. Skirmisher. = 24p |
|
|
|
|
|
18p Elite Cav 6 |
| Move 7+ 10” |
| Attack 5+ Attack V 3+ Defence V 5+ |
Courage 3+ Armour 4 |
|
|
| Wild Charge. Counter Charge |
|
|
|
|
|
4p Crossbow 12 |
| Move 6+ 6” |
| Attack 7+ Attack V 6+ Defence V 5+ |
Courage 4+ Armour 2 |
| Shoot 7+ 4+ 18” |
|
|
|
|
|
|
|
2p Skirmishers 6 |
| Move 5+ 8” |
| Attack 7+ Attack V 6+ Defence V 6+ |
Courage 5+ Armour 1 |
| Shoot 7+ 5+ 12” |
| Hard to target. Arm 2-12” Skirmish/Evade7+. |
|
|
|
|
|
OR Anglo Norman |
|
|
| 2 elite cav, as above OR Elite Inf. 2 HI, 2 Sk. = 24 |
|
|
|
|
|
4p HI 12 |
| Move 5+ 6” |
| Attack 6+ Attack V 5+ Defence V 4+ |
Courage 4+ Armour 3 |
|
|
| Wall Of Spears |
|
|
|
|
|
6p Elite Infantry 6 |
| Move 5+ 6” |
| Attack 5+ Attack V 3+ Defence V 4+ |
Courage 3 Armour 4 |
|
|
| Normal attack/defence in rough. |
|
|
|
|
|
Welsh 1HC 3LI Jav 4 Skirmishers or double.
4p Heavy Cav 6 |
| Move 5+ 10” |
| Attack 5+ Attack V 4+ Defence V 5+ |
Courage 4 Armour 3 |
| No shoot |
| Countercharge |
4P LI Javelin 12 |
| Move 5+ 8” |
| Attack 6+ Attack V 5+ Defence V 4+ |
Courage 4+ Armour 2 |
| Shoot 6+ 5+ 6” |
| Wall of Spears |
2p Skirmishers 6 |
| Move 5+ 8” |
| Attack 7+ Attack V 6+ Defence V 6+ |
Courage 5+ Armour 1 |
| Shoot 7+ 5+ 12” |
| Hard to target. Arm 2-12” Skirmish/Evade7+. |
Rohan Comes! I'm using my Battle Valor cavalry as the Welsh heavy cavalry. Plus Museum Miniatures pack https://www.museumminiatures.co.uk/harold-gyrith-loefwine-cinc.html. They fit in superbly.


Day 1 Game 1. Welsh vs Anglo Norman (me & Easton) Easton decided to swap the 2 skirmishers for one unit of crossbow. in both games.
The Welsh. Given the depth of deployment I put the skirmishers at the back to run forward at need.
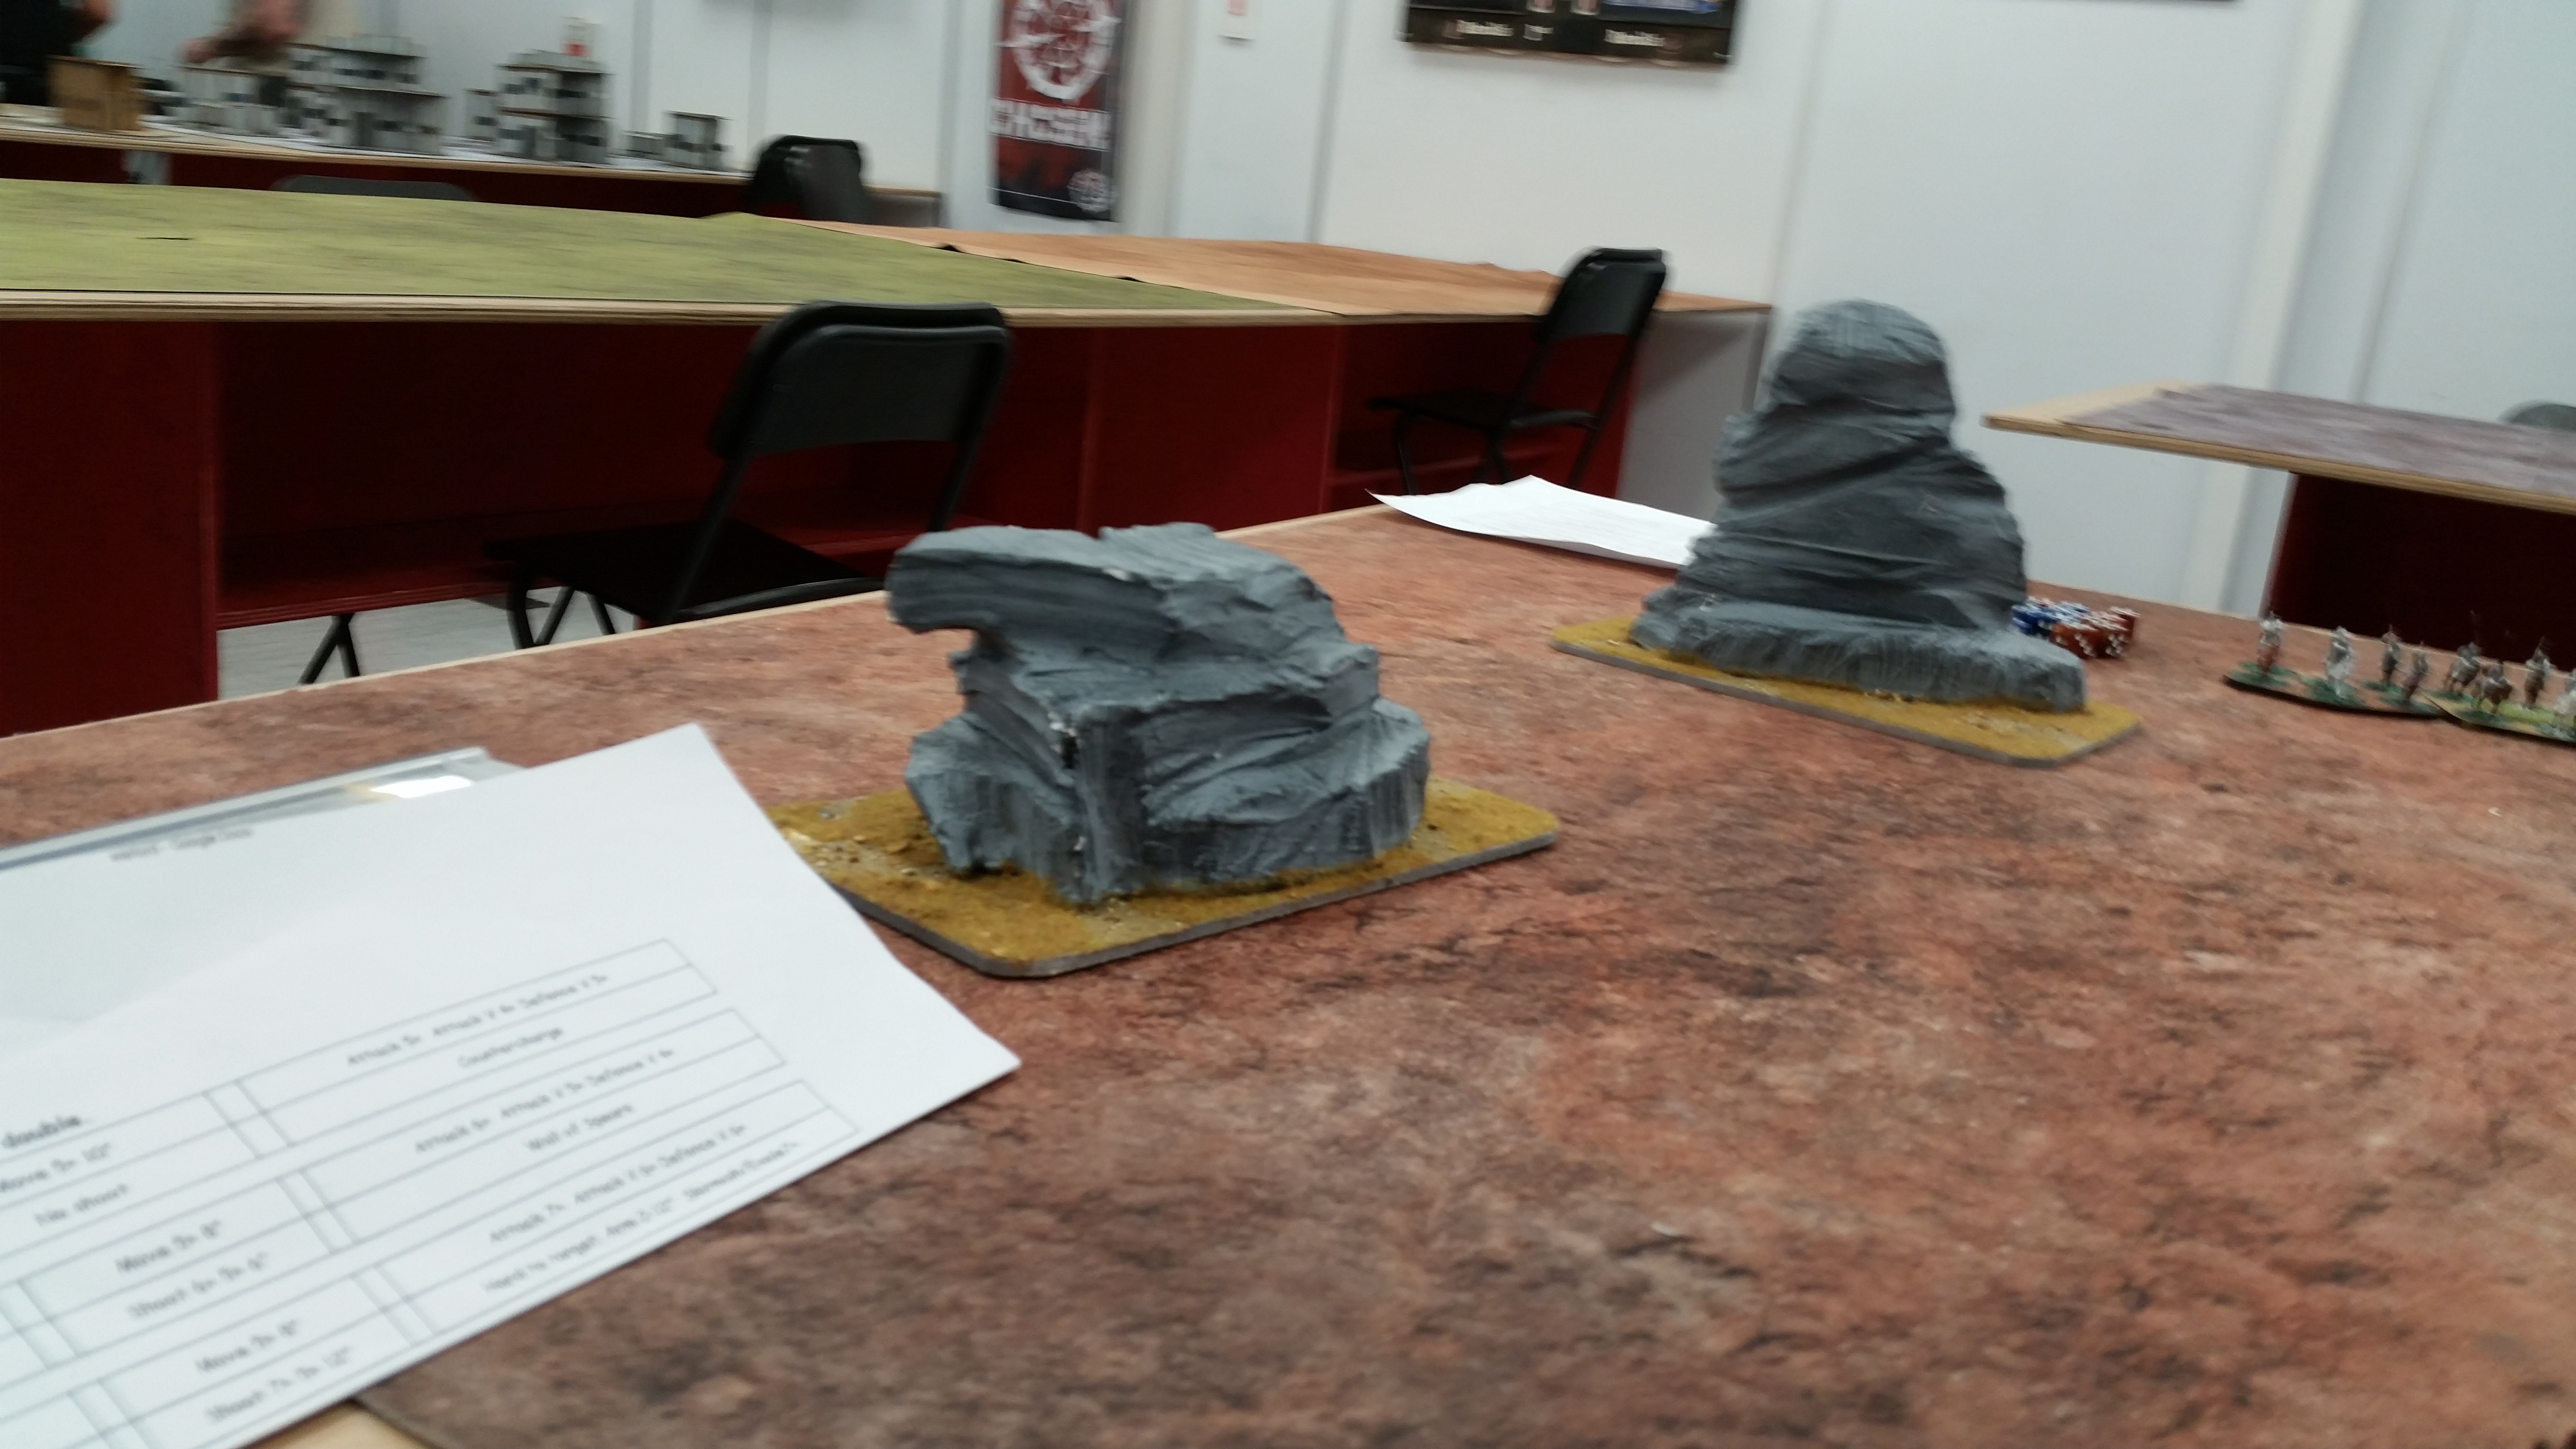
We used the terrain table and Entoyment's terrain. Not the best match but looking a gift 'orse in the gob--.
I got attack, I cannot see this lot hanging back in good order, advance! Skirmishers up. Cavalry fail---.I suffer the impetuous charges of the Normans. That puts them in range of lots of missiles.
One unit is sent packing!
The crossbows are brutal. Wiped out one skirmisher and reduced the other 2 units in range. I need to get the javelins in range.I reduce the cavalry, the other unit hangs on. Crossbows break my infantry.
Another impetuous charge.
The infantry abandon their wall of spear and charge my skirmishers, who fail to dodge.
Heavies go in! The Normans are at half strength, and they break.I sortie my skirmishers. I should have charged them through the woods. Instead I got them wiped out for bugger all.
New lines are being drawn.
The crossbow move, I manoeuvre the cavalry to keep out of way.One remnant cavalry hit mine, the other the light infantry. Both die gloriously.
The cavalry are ready for a last desperate charge and the infantry are at long range of the crossbow. So goes the Welsh.Day 1 Game 2 Welsh, Anglo Norman and Viking. (Tony, Easton & me)
The Vikings. Due to terrain and 2 opponents I split in 2. Different bases to make clear.
A marsh, and as it's Wales, a chapel.Welsh guard the coffee. Always a sound deployment.
My Vikings, faced with much larger forces bide their time and try to stay out of shooting range.
The Welsh froth heads towards the Normans, who keep a line. Crossbows take the first victim.
That makes the Welsh turn their attention to me. Oh good.
I move my elite out as a tempting target.
Trumpets, drum shields, advance!
I work my other half (including general) in the cover of the woods. That cut down the crossbows effectiveness.
I'm facing a lorra lorra shooters.
The cavalry charge in, breaking the heavies.Meanstwhile, my elite's are ready to pounce!
My other elites chase skirmishers while the heavies recover.The Norman infantry pull back. The cavalry wild charge.
The elite get there, but the heavies are just a bit short.
Cavalry go into my heavies again, as do some of the skirmishers. The rest my elite's chase away.The crossbow keep going back - with the general! My heavies go in, but they are defeated and flee. Sending my elite in get's 'em out of the way of the crossbow.
Norman cavalry kindly keeps the Welsh off the heavies.
The Welsh cavalry are broke, now it's the turn of the infantry. My elite retreat to the bog.
Start of the long march. My elite shadow the Norman infantry advance on the Welsh.
I'm keeping out of the way.
The Welsh try and make a line.
Skirmishers break the cavalry.
Here comes my general!
Crump!
Form a ragged line.
Skirmishers fail to evade.
The Normans take shooting casualties facing my heavies. I attack, even casualties but now down to under half. But he's broken.
The Norman's morale breaks and it's just us--.My last 2 facing lots of shooters. And that was that. The dogged Welsh hold the field.
Day 2. I spent a little time working on my Not Robin Hood - that's the one I've bought and done all (so far) the figures for. I looked at the play format, hope I've got a simple enough solution, so let's play!
Sea Raiders. Dice Attacker/Defender. Attacker chooses a scenario. Defender Terrain.
Both then choose 24p+- force.
Home terrain 5) 4 hills 3 woods 1 stream OR 3) 4 marches, 2 hills, 2 woods.
Scenario 6 gentle stroll as attacker. Scenario 11 Messenger as defender.
Scenario 12 as Defender. Scenario 14 Neighbours
Scenario 15 Hammer Defender Scenario 16 Bloodfeud
Losses. Warriors reduced to half become LI. Partial units can be combined.
Win/Loss. Calculate losses of complete units with enemy force.
Points winner can add the enemy lost points to his, although any lost points will reduce the total.
Correct the list. The force has to return to home before changes can be made. Any encounter before that uses the reduced victorious force.
Playing Wombaer Anglo-Norman.
Home terrain 1) 4 hills 2 woods
Scenario 1 Bloodbath. Scenario 7 as Defender.
Scenario 12 as Attacker. Scenario 14 Neighbours
Scenario 15 Hammer Attacker Scenario 16 Bloodfeud
Losses Knights can be replaced from elite foot.
Additions. (Win) Replacements must come from the Mercenary list.
Playing the Normans.
Home terrain. 4) 2 hills 2 villages/6 buildings 6 wall/hedge sections 1 stream
Scenario 6 gentle stroll as Attacker. Scenario 8 Sausages as Attacker.
Scenario 12 Taxman as Attacker. Scenario 14 Neighbours
Scenario 15 Hammer Defender
Losses. |Knights are replaced by Foot Sergeants.
Additions. (Win) Replacements may come from the Mercenary list
Playing Ulf. Viking
Home terrain 6) 1 river, 1 stream 1 village or 3 buildings 3 woods.
Scenario 3 Defending. Scenario 10 Defending.
Scenario 14 Neighbours Scenario 15 Hammer Defender
Losses. Knights replaced from elite inf.
Additions. (Win) Replacements may come from the Mercenary list.
Day 2 Game 1 Today was all about Scenario 12 The Taxman Cometh. (P156)
The markers (taxes/loot) were spread out along the centre line (ish)
Easton took his beloved Normans.
I used the Sea Raiders. The V's are the Warriors.
The Normans go full whack for the centre. Except for his left cav that just stayed there--.
My right (general) goes for it.
But my left doesn't budge.
Norman general picks up one, cavalry goes for another in the house.Run! And look! I got a left unit to move!
The cav pick up a second -- and the skirmishers a third!
The warriors charge the dismounted cav doing the dirty deed! They get shoved back and lose the token.
But the warriors have been shoved back so it's up for grabs!The general heads for the next token. Northern European Standoff.
Just - move!
A token is gained, but casualties from skirmishers and crossbow.
At last!
Rematch for the dropped token.
Infantry shoved back so the cav get it.
-
Only to lose it to the other warriors! Meanstwhile the general gets one. We're on the up!
Norman general charges in. He's supposed to retire with the loot--.
The infantry got smashed, but the skirmishers are FINALLY moving, go get it!
The final warriors move up, get the loot!
The skirmishers are chased by the cavalry and get routed. My warriors get sent orf by the skirmishers! And the loot is still in the church! Wot sort of raiders cannot pillage a church! Have they NO sense of tradition!
The Norman left finally strolled up and grab one, as did the crossbow.
Day 2 game 2. Same scenario, same scenery just bigger numbers.
I took the same side, teaming up with Matt and the Vikings.
Tony took the Anglo- Normans to guard his coffee with Easton sticking with the Normans.
I had trouble with my phone charger so missed a bit at the start. I zoomed up and grabbed one! As do the Normans from the ruin. Shaping up for a battle on the crossroads.
The Norman general has one, but Anglo Norman cav baulk at going to the church--.
United front of raiders.
I get shoved back, protected by the general.
Facing my general--.
Precarious, but I grab loot.
Matt gets one from the church & my skirmishers take the pain but kill a cav.
Just left there--
Battered cav.
Vikings play defence, allowing my Warriors to run with the loot.
Look! There ARE higher numbers on me dice! Bit late though.
Well that's that! The Viking team took the most casualties but took the higher value loot.
Good scenario! But it's a bit vague, you need to read through and agree a few things. We worked out that if a unit was broken then they dropped the loot. This worked well and I recommend it. I think a few blank tokens, adjusting the number for units used.
We played a short game 12p using roughly the same sides (except I went Welsh and had the only cavalry)
Easton fielded crossbow and 4 skirmishers - we couldn't get close to him! I did manage to kill 1 crossbow, he had his general in the unit.
Most mixed! Battle Valor cavalry, CP priest and Museum Miniatures mostly Saxons.


No comments:
Post a Comment