Troy 2 Ruins and rough
neighbourhoods.
I thought I was nearly done, but I started playing around with ruins. These are so easy and cheap to make that those on a very low income or any of you wanting a project for the kids holiday can produce scenery in volume. If you're in a club, why not see who throws what out at work or home, pool and produce. Got members who struggle to pay fees? Ask them to make club scenery or get members to commission pieces.
Golden Rule. You cannot have too many small ruins. Collect every scrap, throw it into PVA, add to a scrap of credit card or CD (which won't warp) with some paint. Add a bit more paint followed by white highlights. Costs next to nothing and you simply cannot have enough. Work out how many you might need. Double then X4. Apply same formulae to wall sections.
Please see below.
OGAM is a harsh mistress. I need ruins from “nuked” to “slightly bashed”. Plus, all my buildings look very neat, how about the rougher side of town?
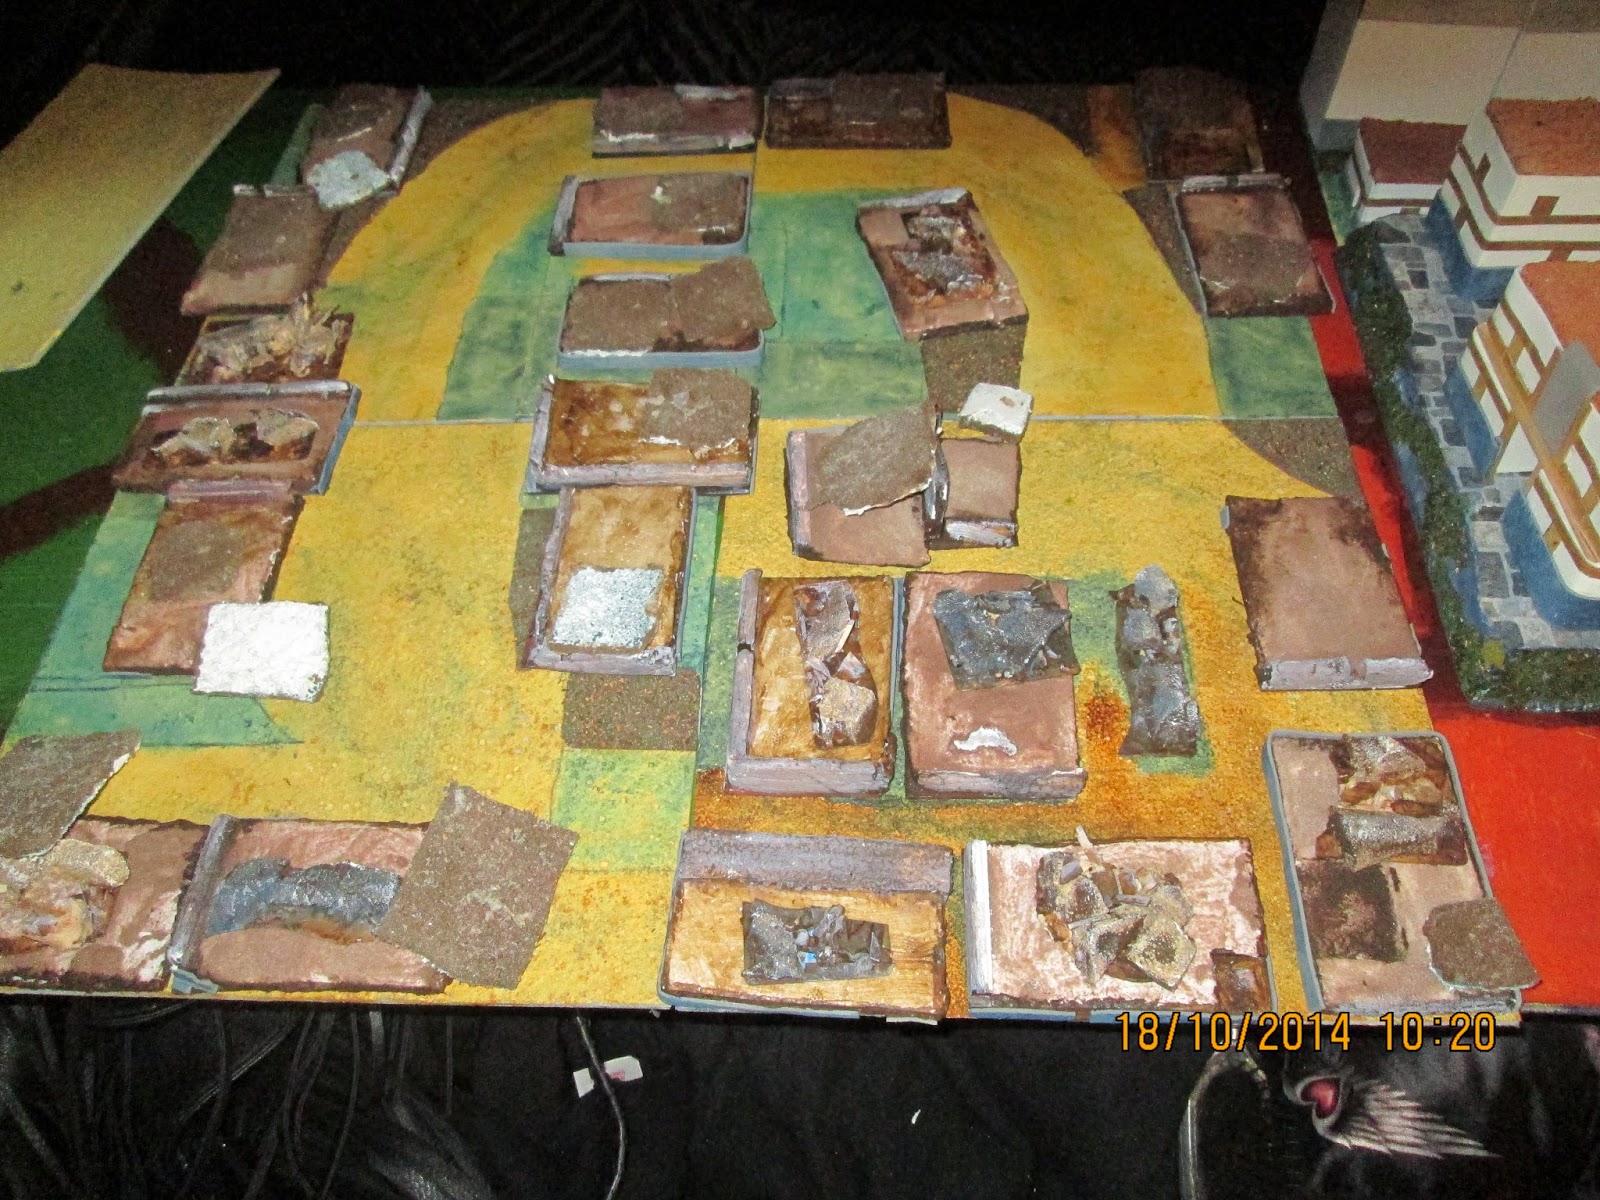
I decided to make 24 flat building ruins so that troops can be added. Small rubble bases can be placed in or around, or make barricades. I used scrap and naff coloured EV foam bases then added a layer of very thin polystyrene, but you could use cardboard or cork. Oddments of walling really brought these to life. The basic build took about an hour total, which was half done in the shop, so having to keep everything tidy slowed things down. Adding the stone layer and other bits took about another half hour and painting a little less. So 2 hours to make 24 pieces, 5 minutes and next to no cost each. These are an ideal project for a youngster as only scissors, paint, PVA is used.
 Vinyl tiles can be toned down by
rubbing in a very small amount of paint with a nylon pan scourer.
This construction is a thick piece of polystyrene sandwiched between
2 tiles, edged with usual PVA and plaster mix. I didn't do the ramp
that well, should have trimmed more. I plastered this with no more
nails and used plastic clamps. I'm going to try raised fields using
similar technique.
Vinyl tiles can be toned down by
rubbing in a very small amount of paint with a nylon pan scourer.
This construction is a thick piece of polystyrene sandwiched between
2 tiles, edged with usual PVA and plaster mix. I didn't do the ramp
that well, should have trimmed more. I plastered this with no more
nails and used plastic clamps. I'm going to try raised fields using
similar technique.
Sponge buildings version two.
This is down-town Troy, the older run down part of town. I was going
to do the same method as before but I thought I'd try something
different. Note - I haven't finished these yet! But for those out-of parts who cares? They will be done soon, honest!

 Take your sponge, (cut out any damage)
and soak in PVA and paint mix, soak your offcuts as well. In this
picture the lighter one has not been treated, the difference doesn't
show up so well.
Take your sponge, (cut out any damage)
and soak in PVA and paint mix, soak your offcuts as well. In this
picture the lighter one has not been treated, the difference doesn't
show up so well.

Once dry, the sponge will be hardish.
Next I sand the top as before. I tried a mix with plaster in the
damaged areas, but this is hard to work with no obvious benefit. These are the bluish areas you can see.
Using a credit card I apply
a PVA and white paint mix over the surface. I like the way that the
brown shows through.
Now all I have to do is lots of market
stalls and street furniture and rebase, repaint a few figures and I'm
there. Hammer, anvil, atom. Proper job.


