I'm not sure why I've such a large rat force. The bulk of the Pyrats are an old, now discontinued, Pendraken range. The thinner ones are (true) 15mm from Rebel Miniatures bought back in the before-time day when it was possible to order from the US.
The League is an active, if old, range. I'd long eyed this but there were no rules-. As Pendraken is retiring several older ranges, spurred on by excellent new fantasy, I plunged in with electric knees and card firmly.

League of Ratsberg 4 huzzahs 20. 1 elite. 1 pike 4. 4 shot 12. 2 arty 16. 1sk. = 60
5p Huzzahs HC 6 | 4 | Move 5+ 10” |
| Attack 5 Attack v 4 Defence v 5+ |
Courage 4 Armour 3 |
| Shoot 6+ 12” 3+ |
| Countercharge |
|
|
|
| 6 |
6p Cheese Cutters Elite 6 | 1 | Move 5+ 6” |
| Attack 5 Attack v 3 Defence v 4+ |
Courage 3 Armour 4 |
|
|
| Ranger |
|
|
|
|
|
4p Heavy I Pike 12 | 1 | Move 5+ 6” |
| Attack 6 Attack v 5 Defence v 4+ |
Courage 4 Armour 3 |
|
|
| Wall of Spears |
|
|
|
| 3p |
3p Musket H Shot 12 | 4 | Move 6+ 6” |
| Attack 7 Attack v 6 Defence v 5+ |
Courage 4 Armour 2 |
| Shoot 7+ 12” 4+ |
| Heavy Projectiles |
|
|
|
|
|
6p Arty (H Shot) 6 as 12 | 4 | Move 6+ 6” |
| Attack 7 Attack v 6 Defence v 5+ |
Courage 4 Armour 2 |
| Shoot 7+ 18” 4+ -1 over 12” |
| Wizardling Power Bolt only. |
|
|
|
|
|
2p Brownjackers 3 | 1 | Move 5+ 8” |
| Attack 7 Attack v 6 Defence v 6+ |
Courage 5 Armour 1 |
| Shoot 7+ 5+ 12” |
| Hard Target. Skirmish. Evade 7+ |
|
|
|
|
|
Pyrates |
| 3 arty. 3 pirates 30p |
|
|
4p Pyrates BF 12 | 3 | Move 6+ 8” |
| Attack 5 Attack v 3 Defence v 6+ |
Courage 4 Armour 2 |
|
|
| Ranger/fleet. Wild charge. Coutercharge foot. 7+ |
|
|
|
|
|
6p Arty (L Shot) 3 as 12 | 3 | Move 6+ 6” |
| Attack 7 Attack v 6 Defence v 5+ |
Courage 4 Armour 2 |
| Shoot 6+ 18” 5+ -1 over 12” |
| Wizardling Power Bolt only. |
|
|
|
|
|
Townees |
| 3 arty. 1 mob arty. 1 musket. 2 sk. 1 bomb 29p |
|
|
4p Fort Arty (H Shot) | 3 | No move |
| Defence v 5+ |
Courage 4 Armour 2 |
| Shoot 7+ 18” 4+ -1 over 12” |
| Wizardling Power Bolt only. |
|
|
|
|
|
6p Arty (H Shot) 6 as 12 | 4 | Move 6+ 6” |
| Attack 7 Attack v 6 Defence v 5+ |
Courage 4 Armour 2 |
| Shoot 7+ 18” 4+ -1 over 12” |
| Wizardling Power Bolt only. |
|
|
|
|
|
3p Musket H Shot 12 | 1 | Move 6+ 6” |
| Attack 7 Attack v 6 Defence v 5+ |
Courage 4 Armour 2 |
| Shoot 7+ 12” 4+ |
| Heavy Projectiles |
|
|
|
|
|
2p Townrats 3 | 2 | Move 5+ 8” |
| Attack 7 Attack v 6 Defence v 6+ |
Courage 5 Armour 1 |
| Shoot 7+ 5+ 12” |
| Hard Target. Skirmish. Evade 7+ |
|
|
|
|
|
4p Bomberats 3 | 1 | Move 5+ 8” |
| Attack 7 Attack v 6 Defence v 6+ |
Courage 5 Armour 1 |
| Shoot 7+ 5+ 12” removes 1 figure Explode 5+ 6” radius (all) 3+ |
| Hard Target. Skirmish. Evade 7+ Exploder! 5+ Failed, implodes. |
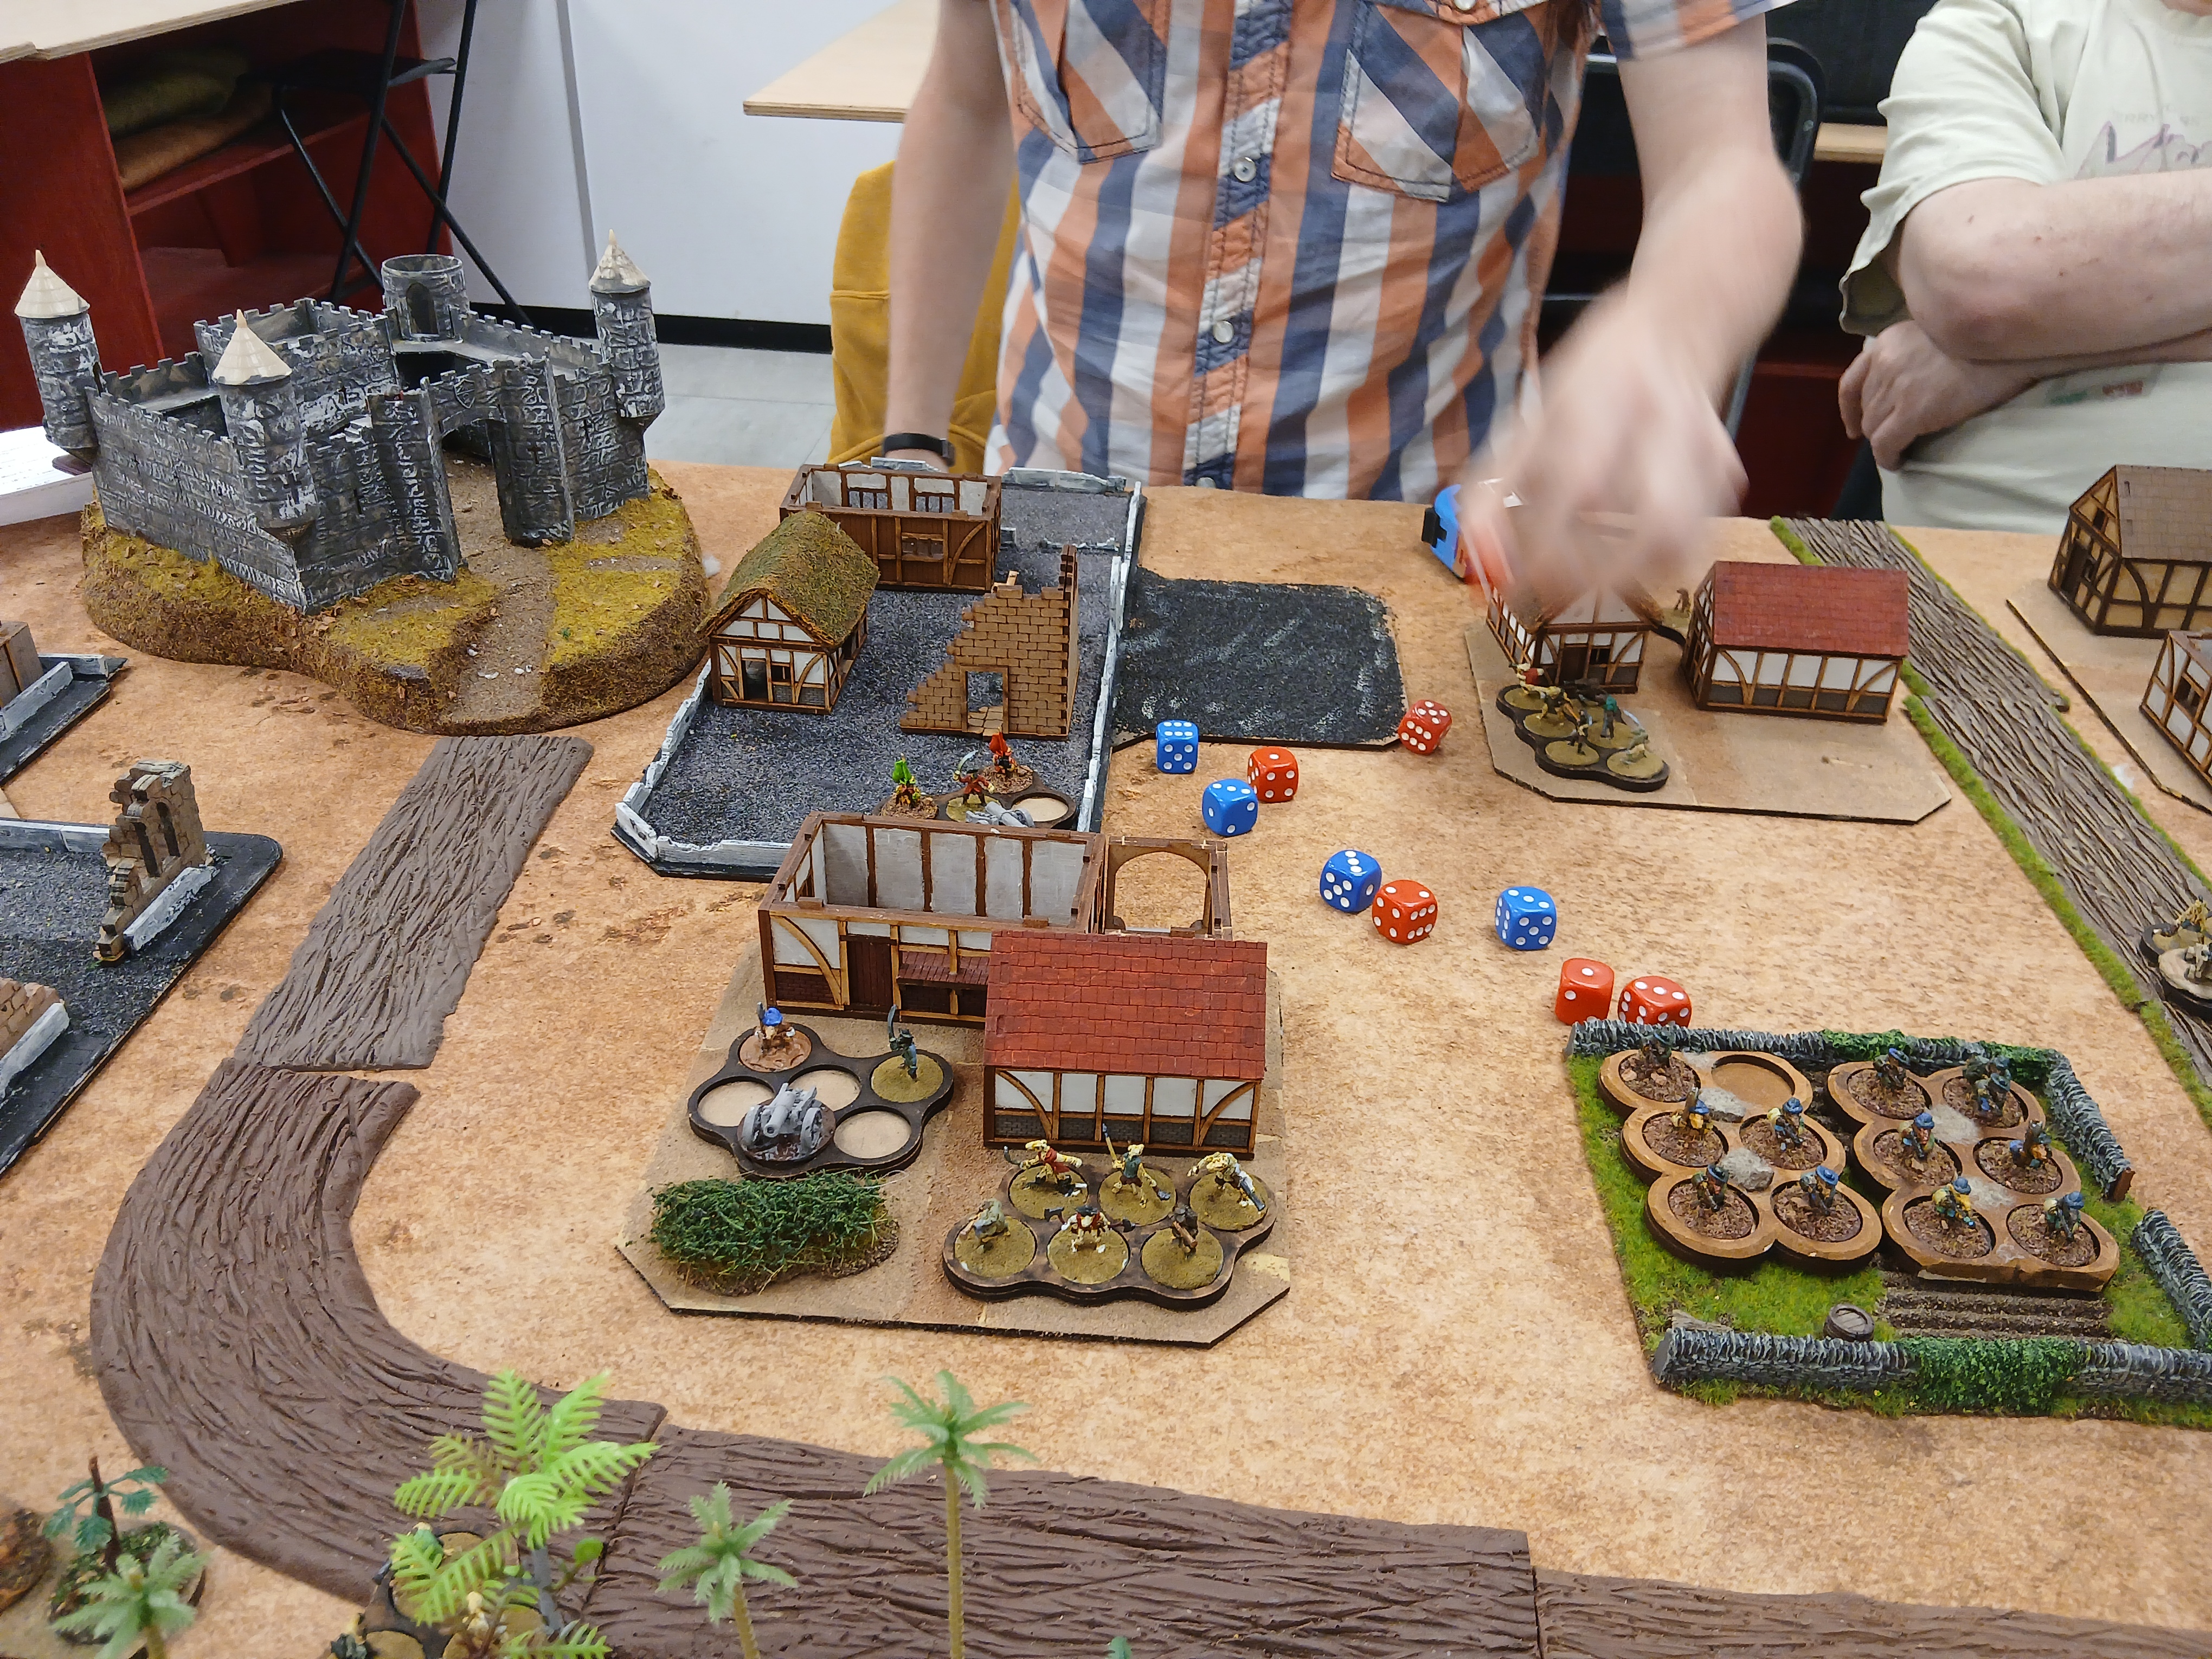
Proud forces of the League. Cue suitable baroque music.
The Pyrats.Infamy, infamy, they've both got it inferme!
Here comes the big guns!
The shooting starts and I come off worse.
Townees
League
I pour it onto this unit but in cover there's little effect.
Assault! The Pyrat leader plunges forth and seizes a piece of terrain.
I get my muskets back but I cannot force the bottleneck.
On the other flank shooting breaks out going Bang!
Not looking good-
I have a line and big guns!
The suicide bombers! Go boom!
Meanstwhile I throw the Pyrat captain back!
Consolidating but not looking good.
That was it, the League has been beaten!Game 2
Swapsies. BTW this is an Airfix Robin Hood castle I picked up at Beachead. I used packing foam to fill the walls under the walkway and a wee bit of hard as nails. I have no excuse for not painting the turret tops and I have (somewhere) the other top.
Townees.
Pyrats.
Imperial line. Matt the Hotdogger.
Getting close
Well placed cannon causes havoc.
Here come the dashing Pyrats!
There go half of them including the Captain!
Artillery is the bitch of the battlefield.
Assault and battery.
League surge.Loss of the Captain causes the Pyrats to be driven back.
Eeek.
Townee side is looking a bit sparse--.
The surviving townees puts up a fantastic fight but numbers tell. Once the big guns get in range of the fixed guns it's going to be a siege!
I thought that worked well! Had the right feel.